Step 3 · Configure the consent screen
Before you can create an OAuth client in Step 4, you need to configure the OAuth consent screen — the page Google shows when an app asks for access to your account.
This now lives under “Google Auth Platform” in Google Cloud Console (the old standalone “OAuth consent screen” has been folded into it). About 5 minutes.
What you’ll set
Section titled “What you’ll set”| Field | What goes in it |
|---|---|
| App name | Kura-chan (anything you like — only you see it) |
| User support email | Your email |
| Audience (user type) | External (for personal Google accounts) |
| Developer contact | Your email |
| Test users | The Google account you’ll connect (do not skip) |
-
Open Google Auth Platform
Left nav → APIs & Services → OAuth consent screen, or go directly to console.cloud.google.com/auth/overview.
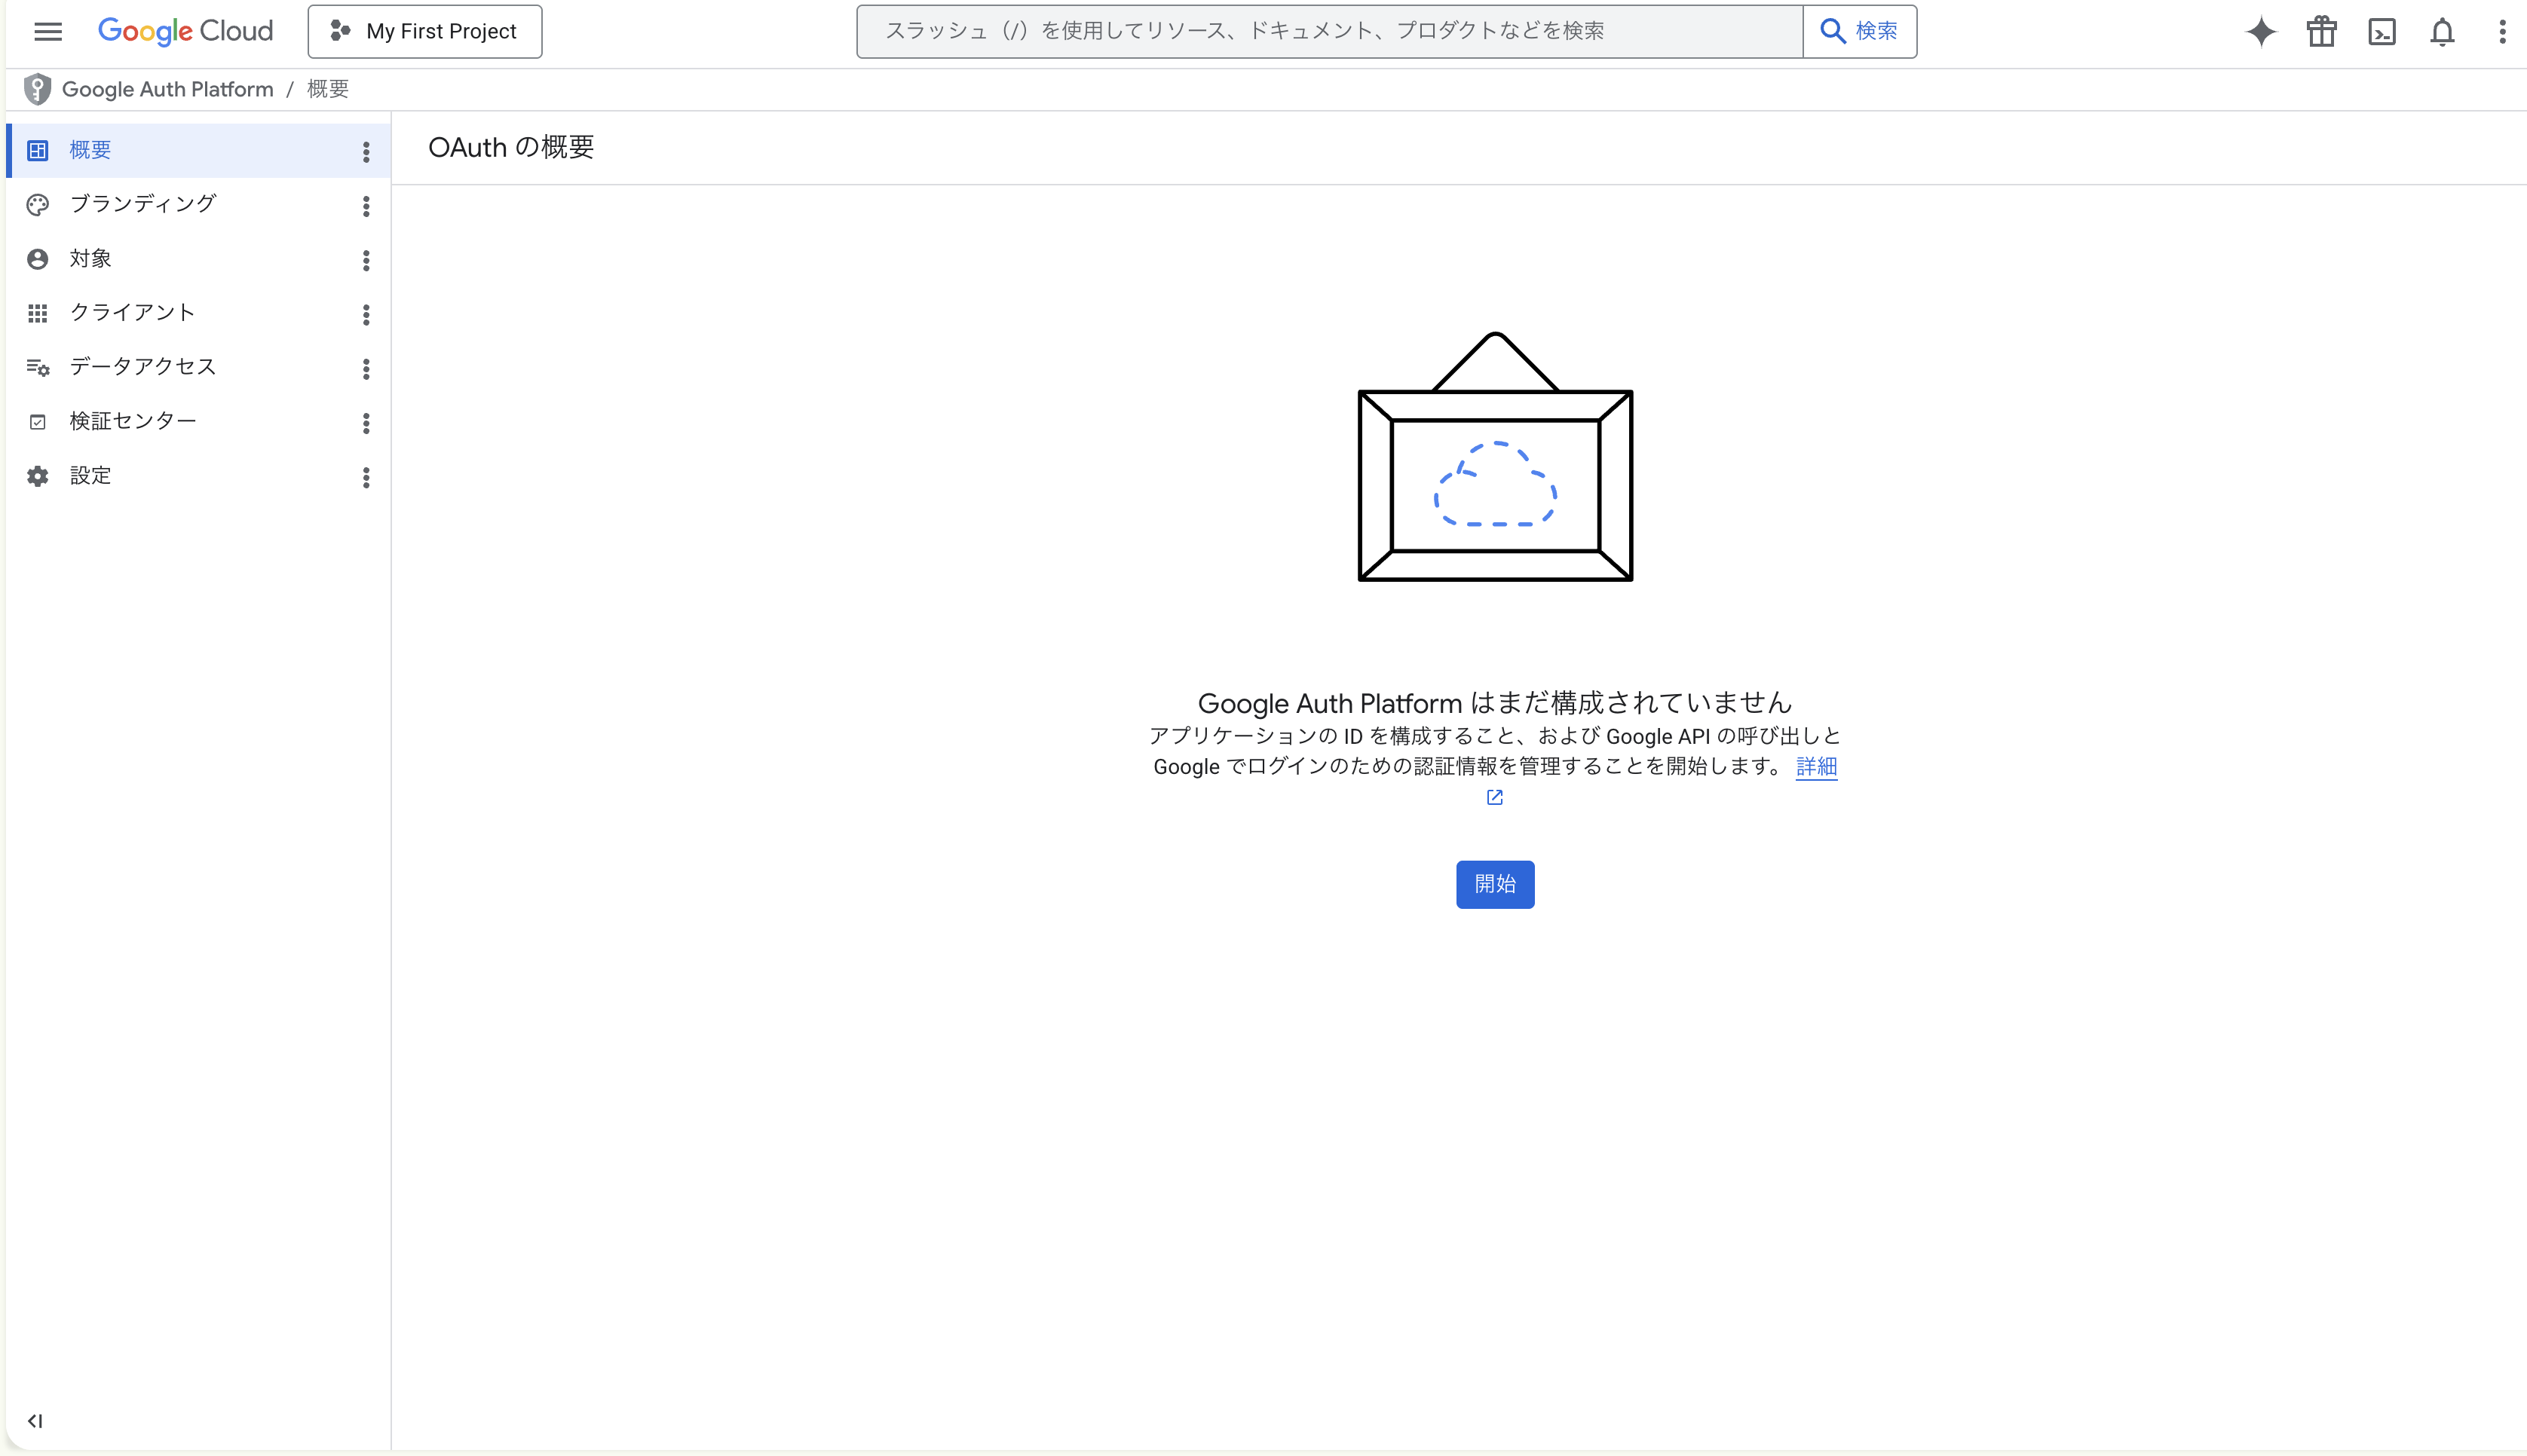
On first use, the “OAuth Overview” page reads “Google Auth Platform not configured yet”. Click the blue “Get started” button to enter the setup wizard.
-
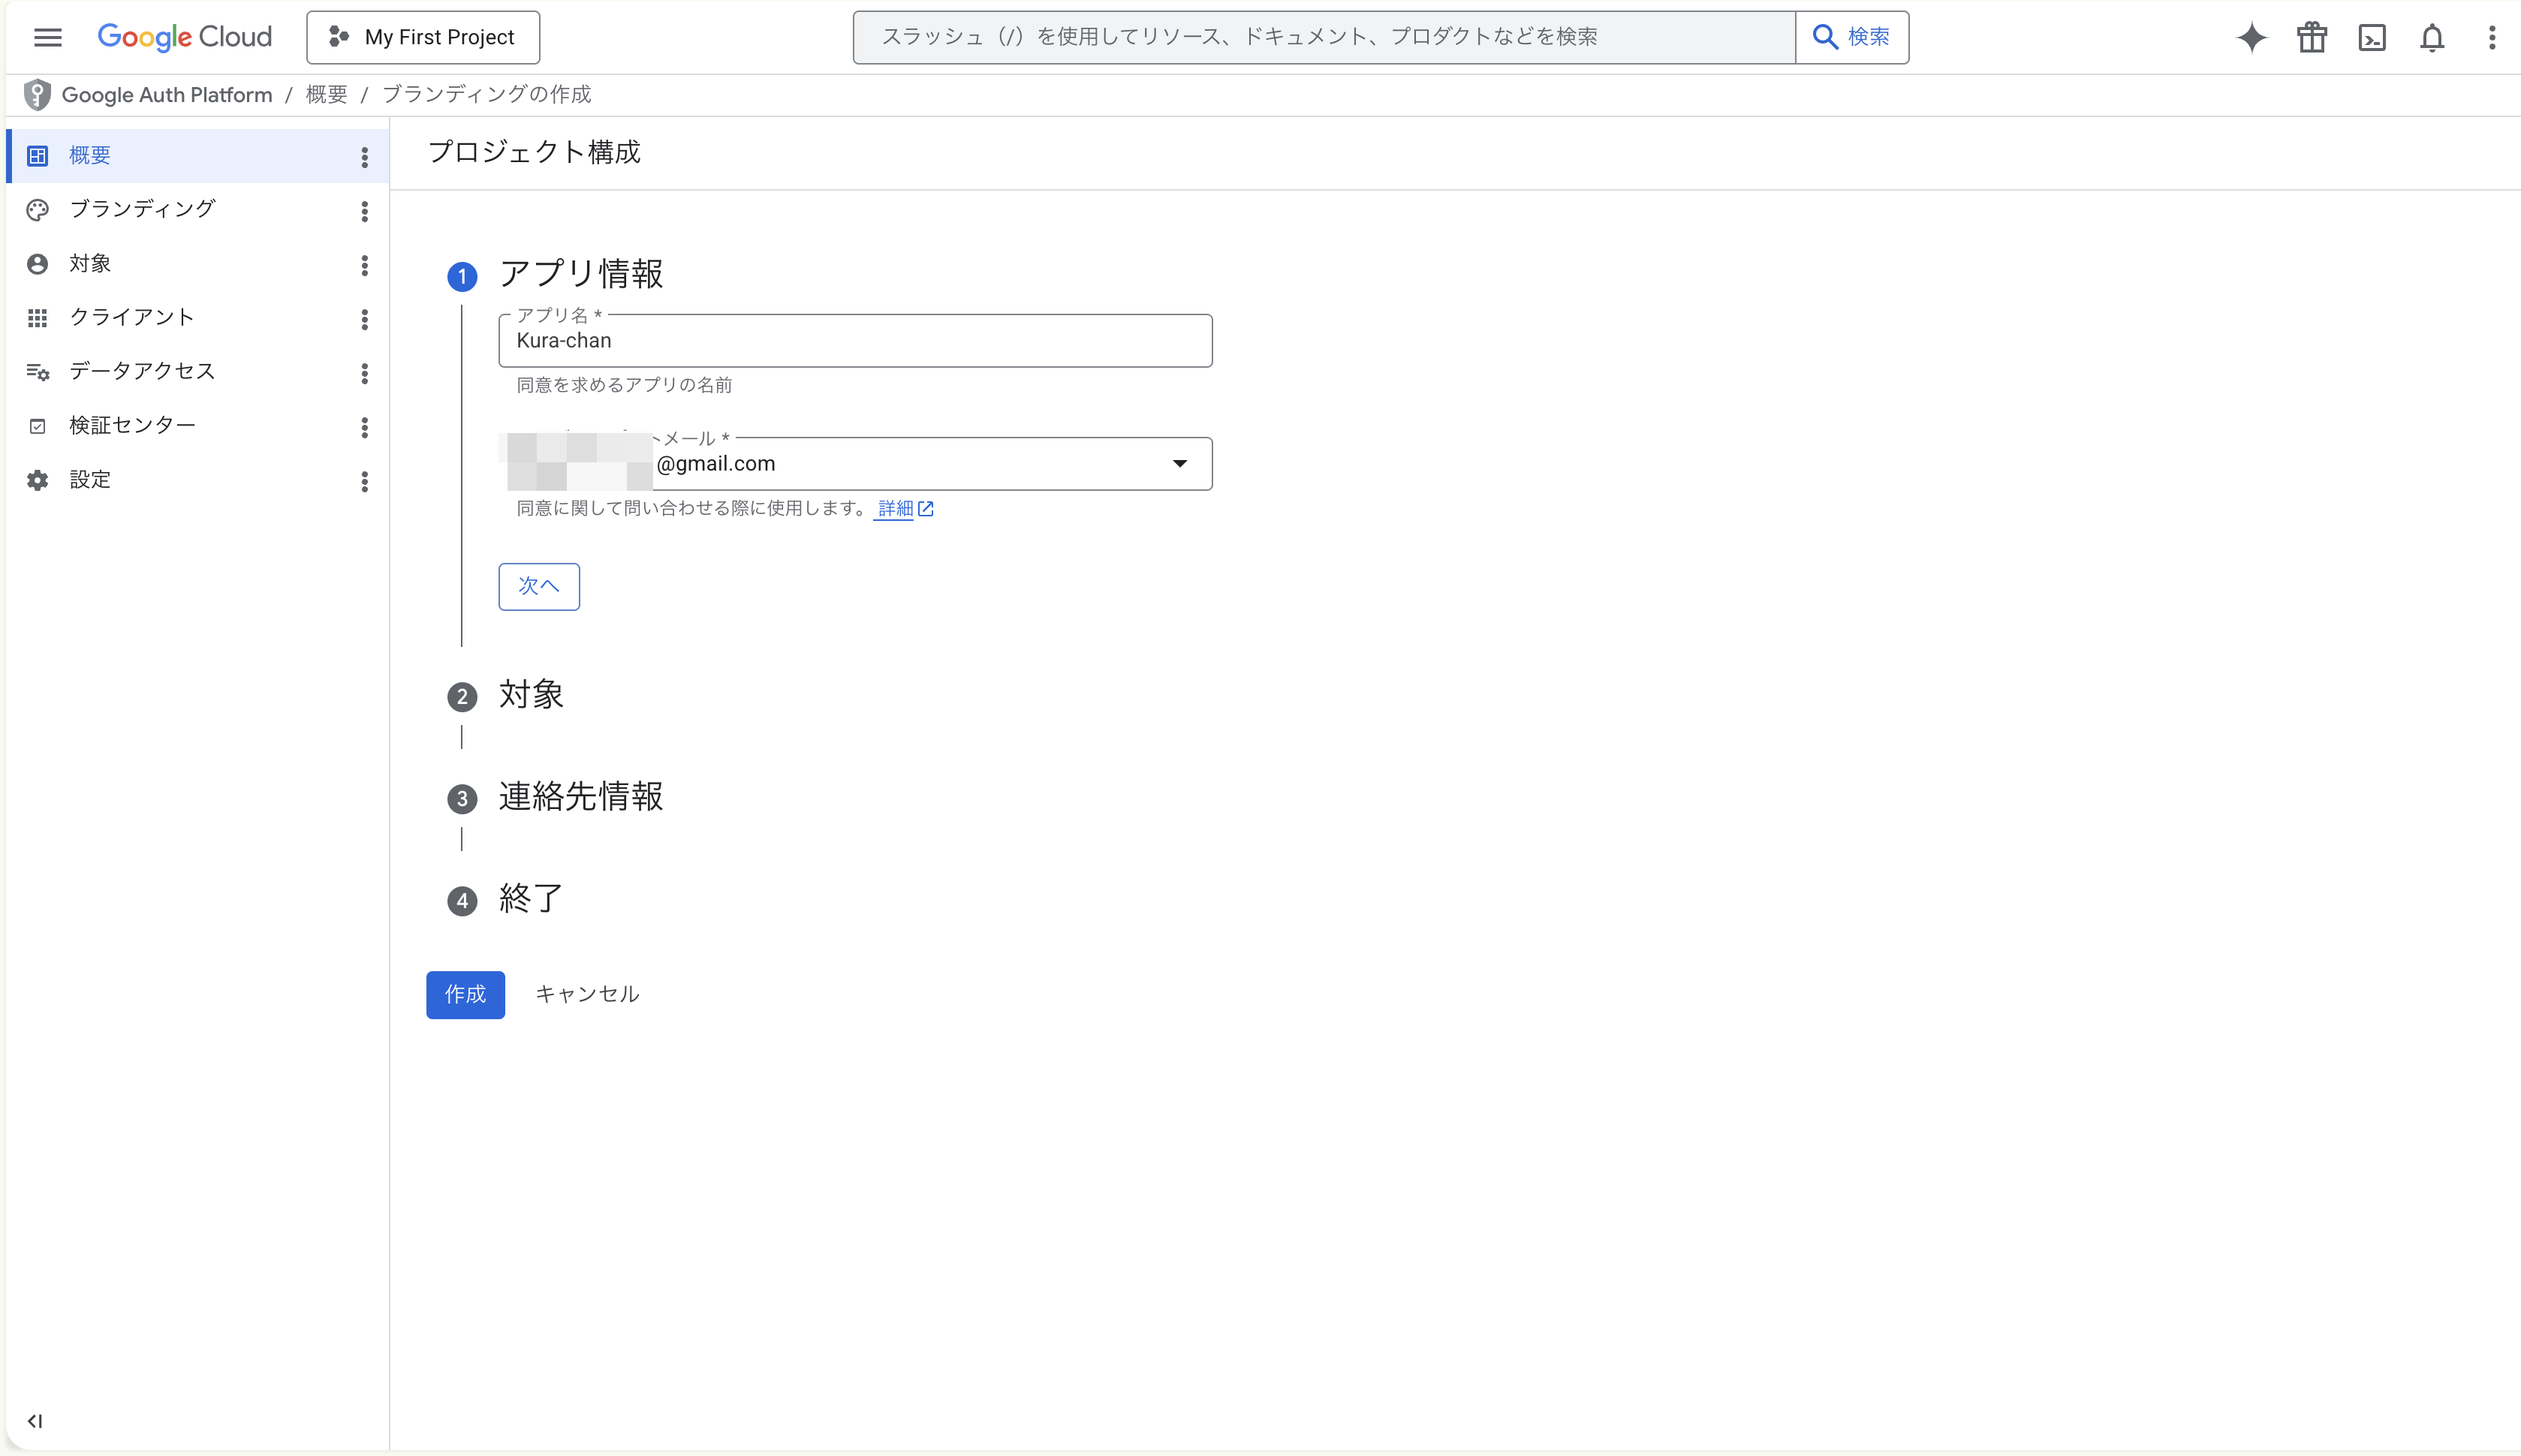
① App information
- App name:
Kura-chan(or your choice) - User support email: pick your email from the dropdown
Click Next.
- App name:
-
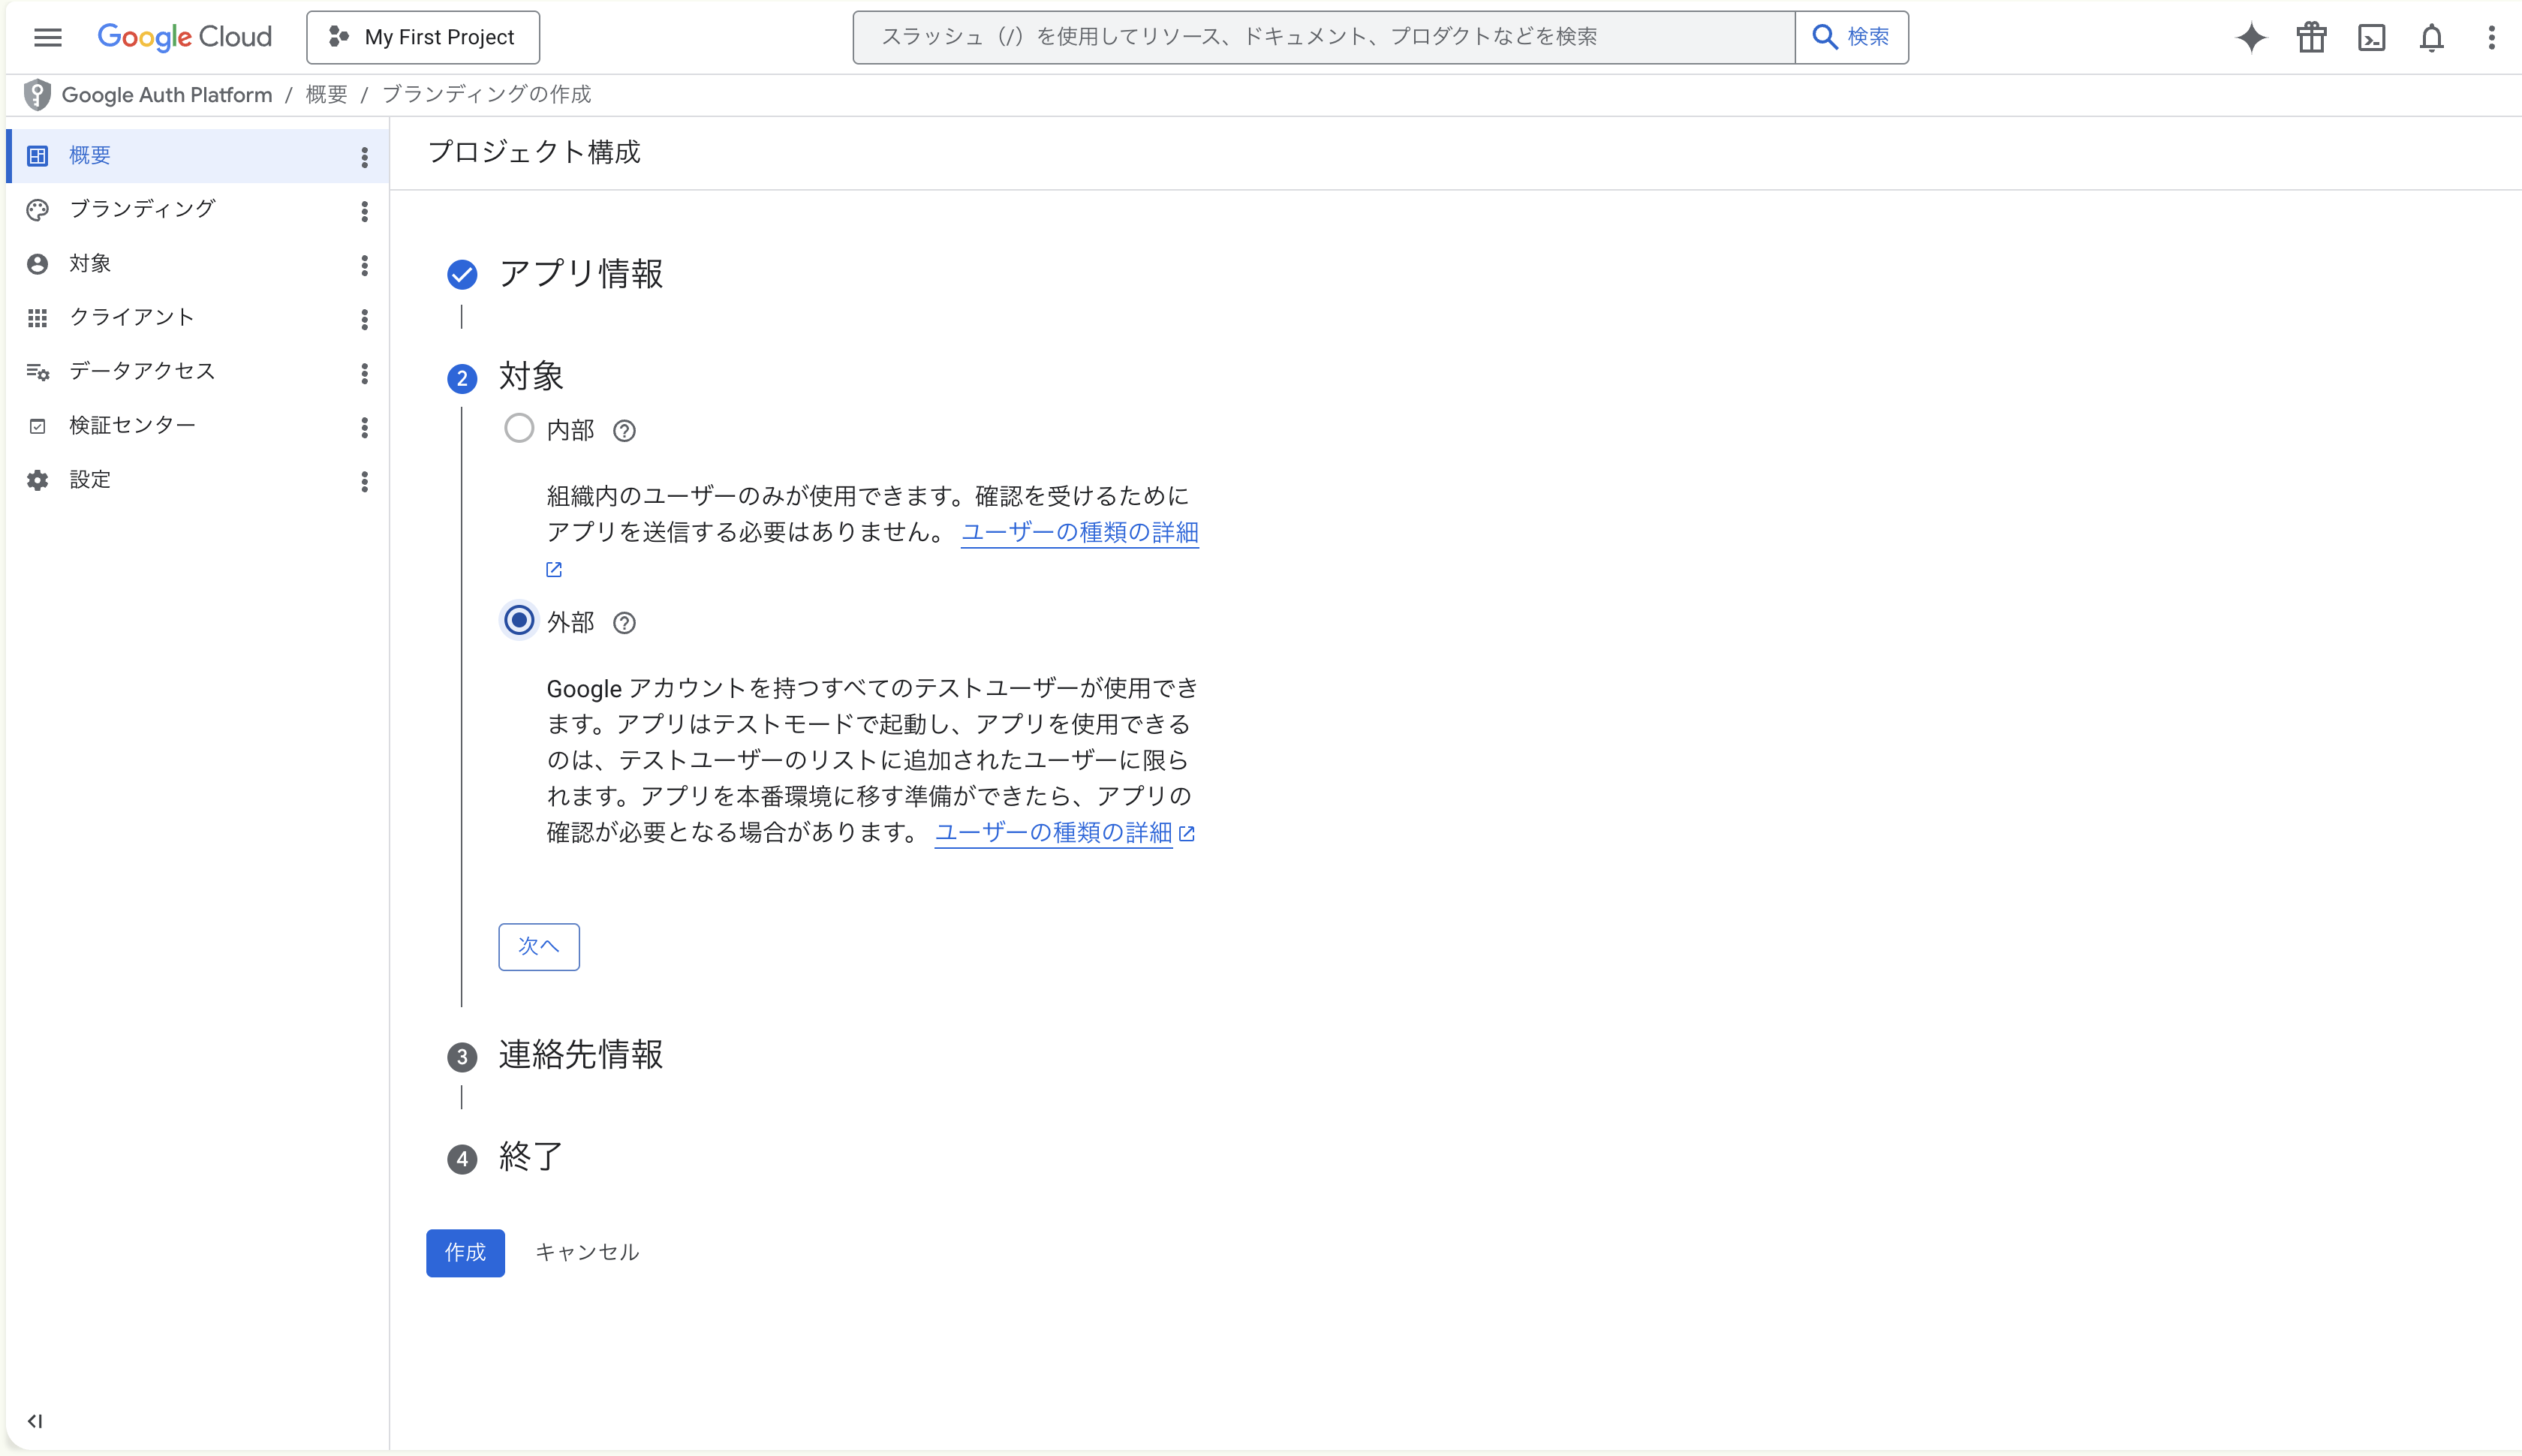
② Audience — pick “External”
Two options appear:
- Internal: only users in the same Workspace organization. Greyed out unless you’re on a Workspace account.
- External: any Google account you add as a test user. Pick this for personal accounts.
Select External and click Next.
-
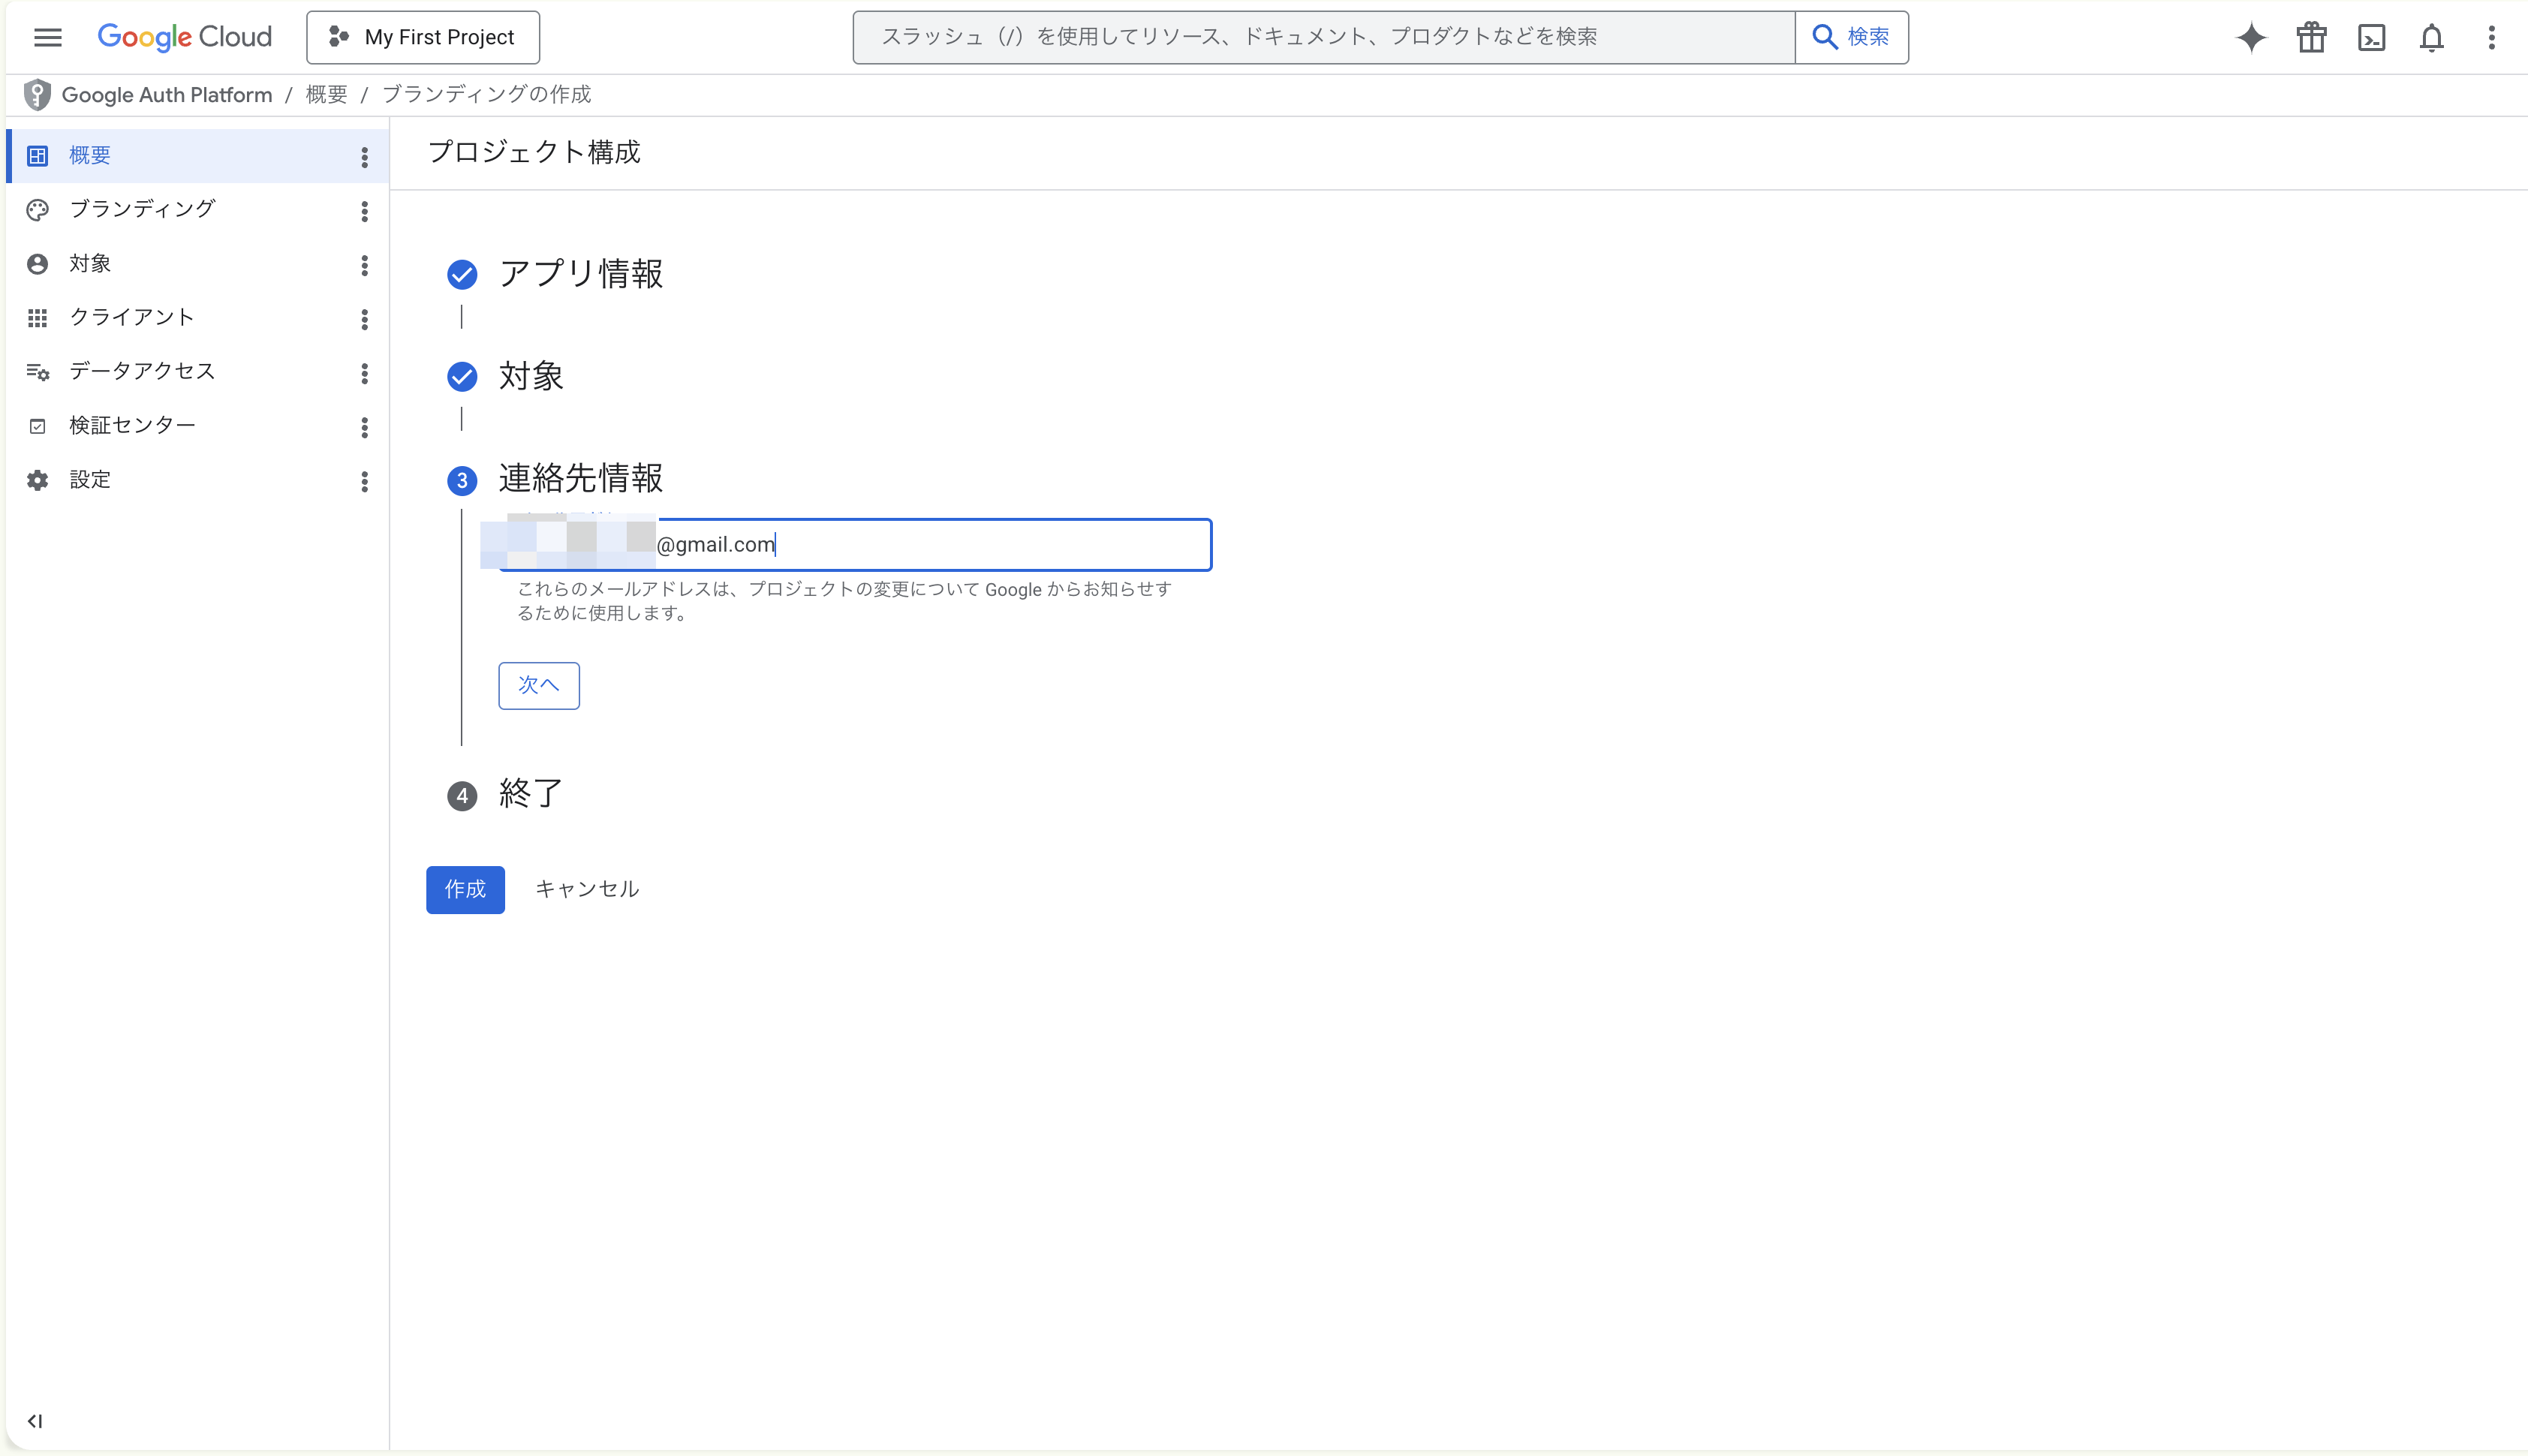
③ Contact info
Enter a developer contact email — your own email is fine, same as the support email. This is where Google sends notices about your project (API deprecations, etc.).
Click Next.
-
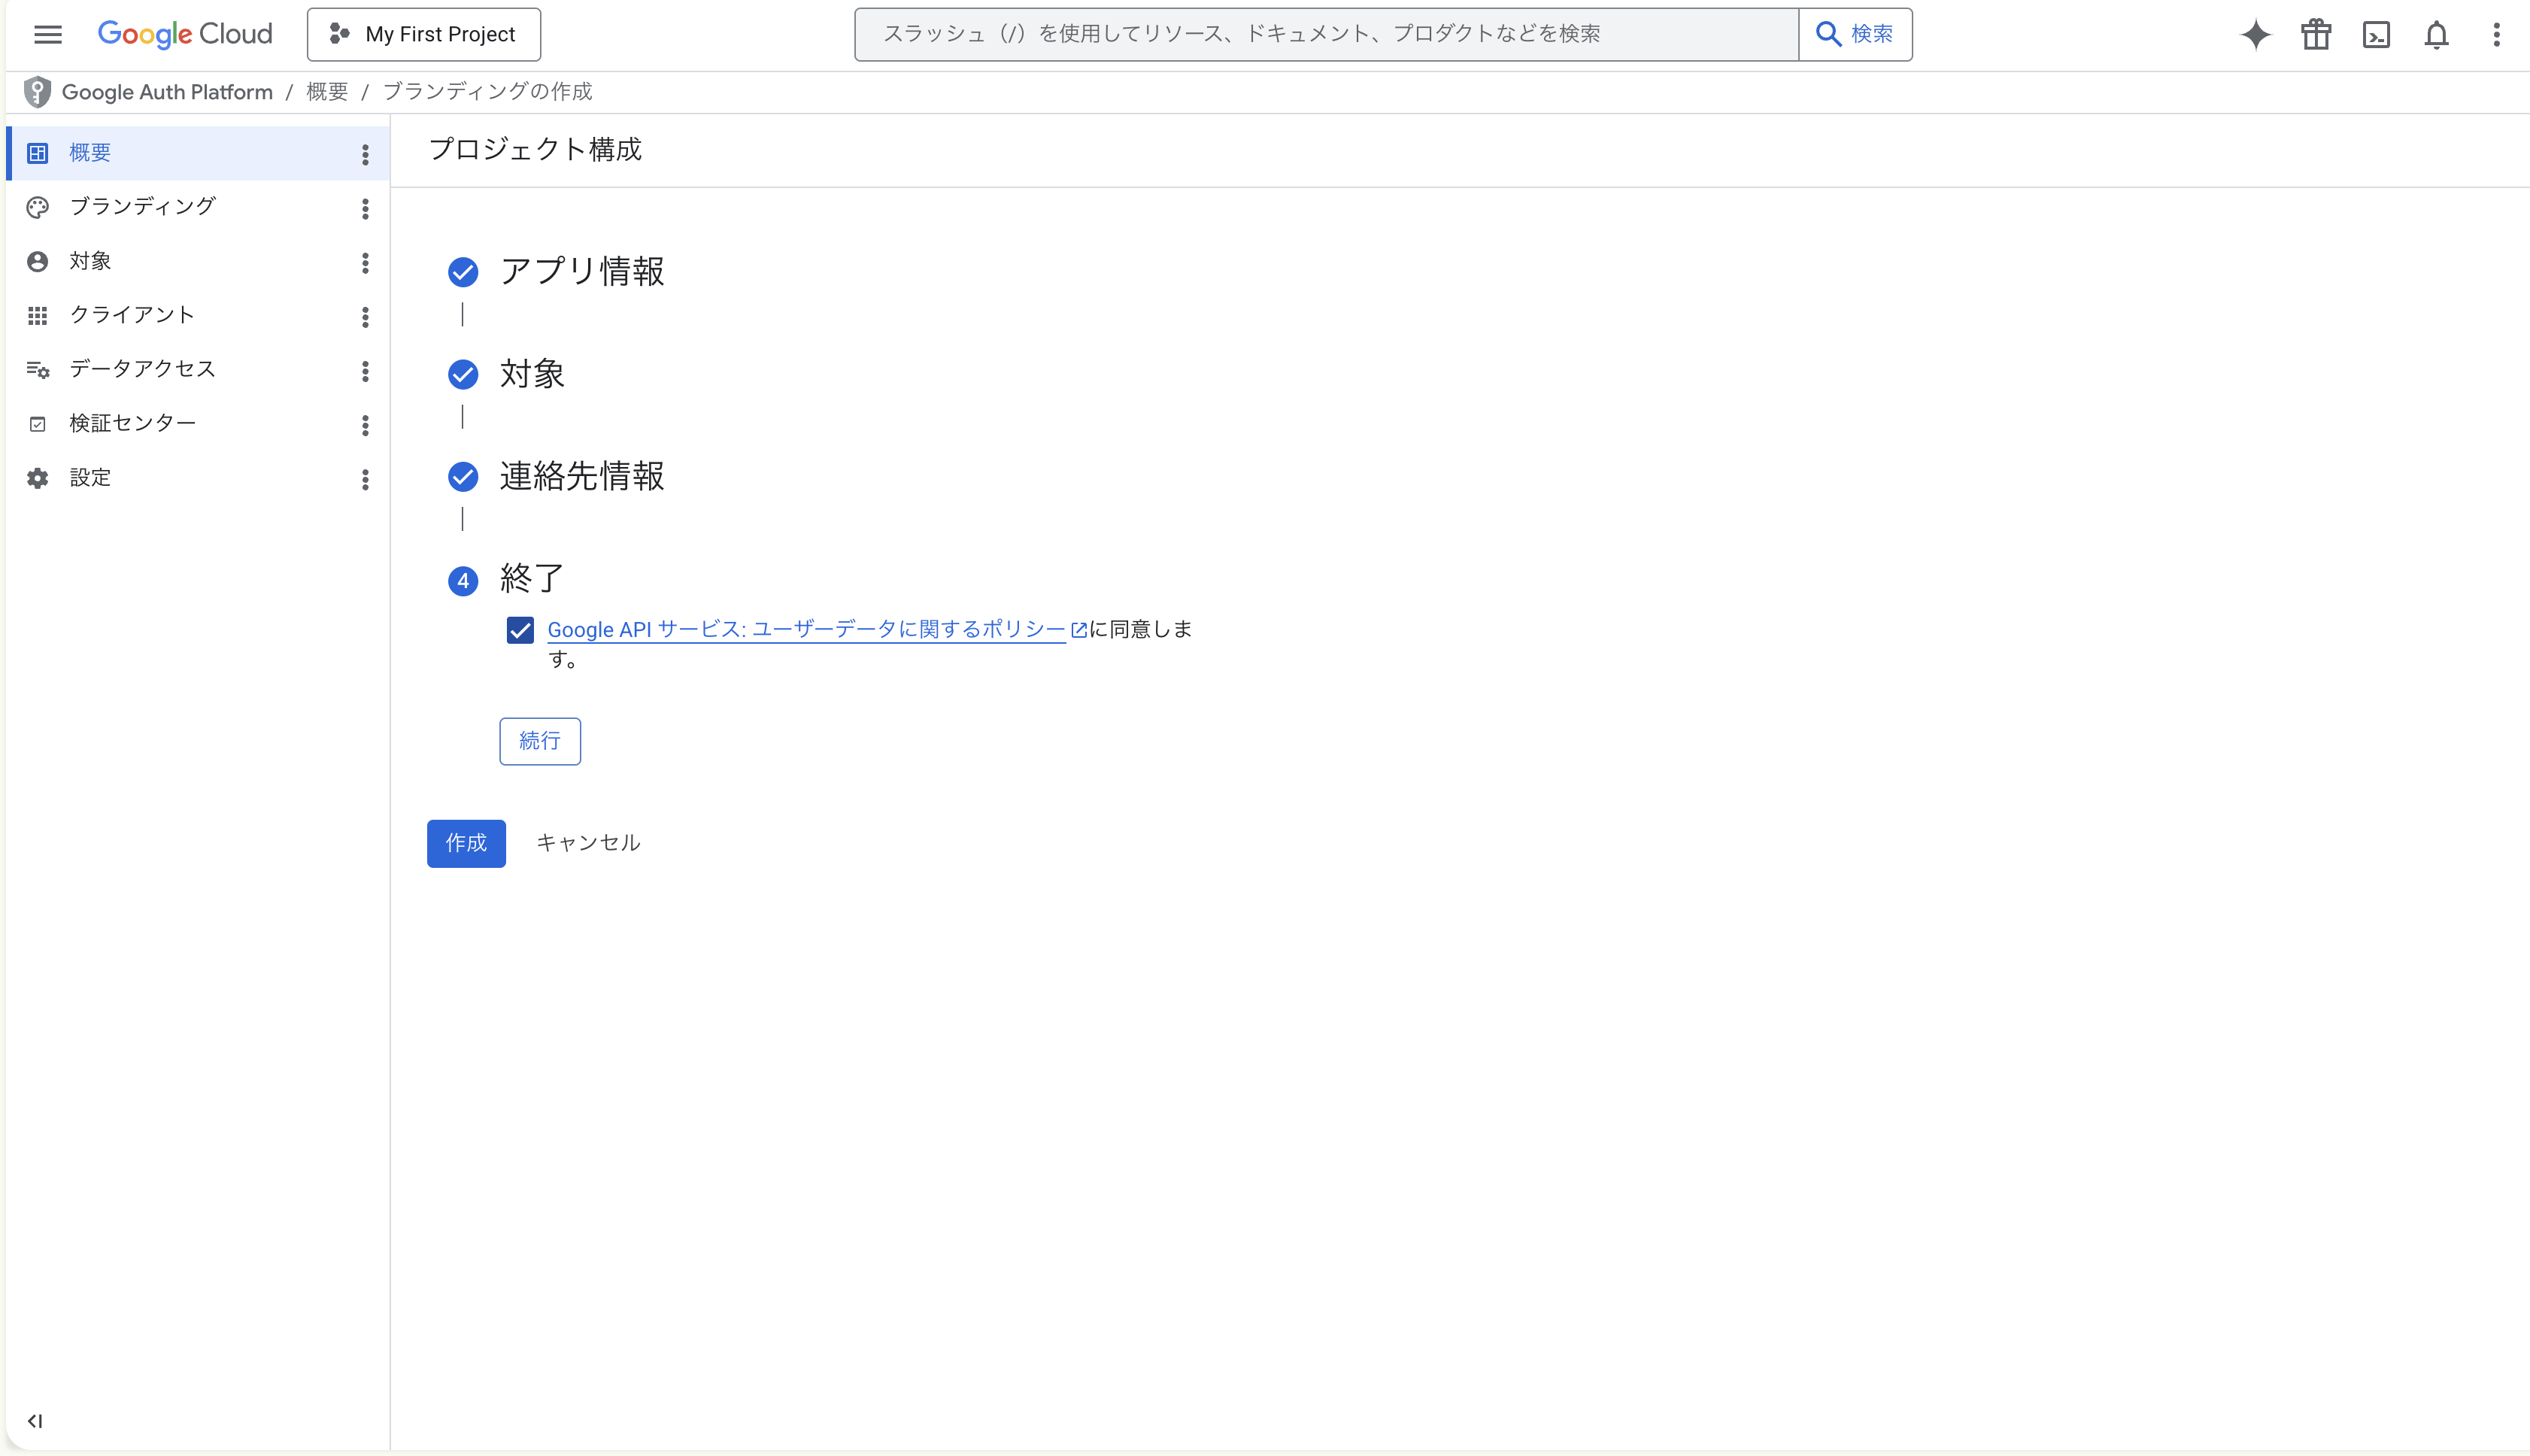
④ Finish — agree to the policy and Create
- Check the “I agree to the Google API Services: User Data Policy” box
- Click Continue
- Click the Create button at the bottom-left
-
Open the “Audience” page (← important)
The wizard returns you to the Overview / Branding page. In the left nav, click Audience (URL ends in
/auth/audience). You’ll see a single page with these sections stacked top-to-bottom:- Publishing status:
Testing(no change needed) - User type:
External(what you picked in step 3) - OAuth user cap: up to 100 users while in Testing
- Test users: empty by default
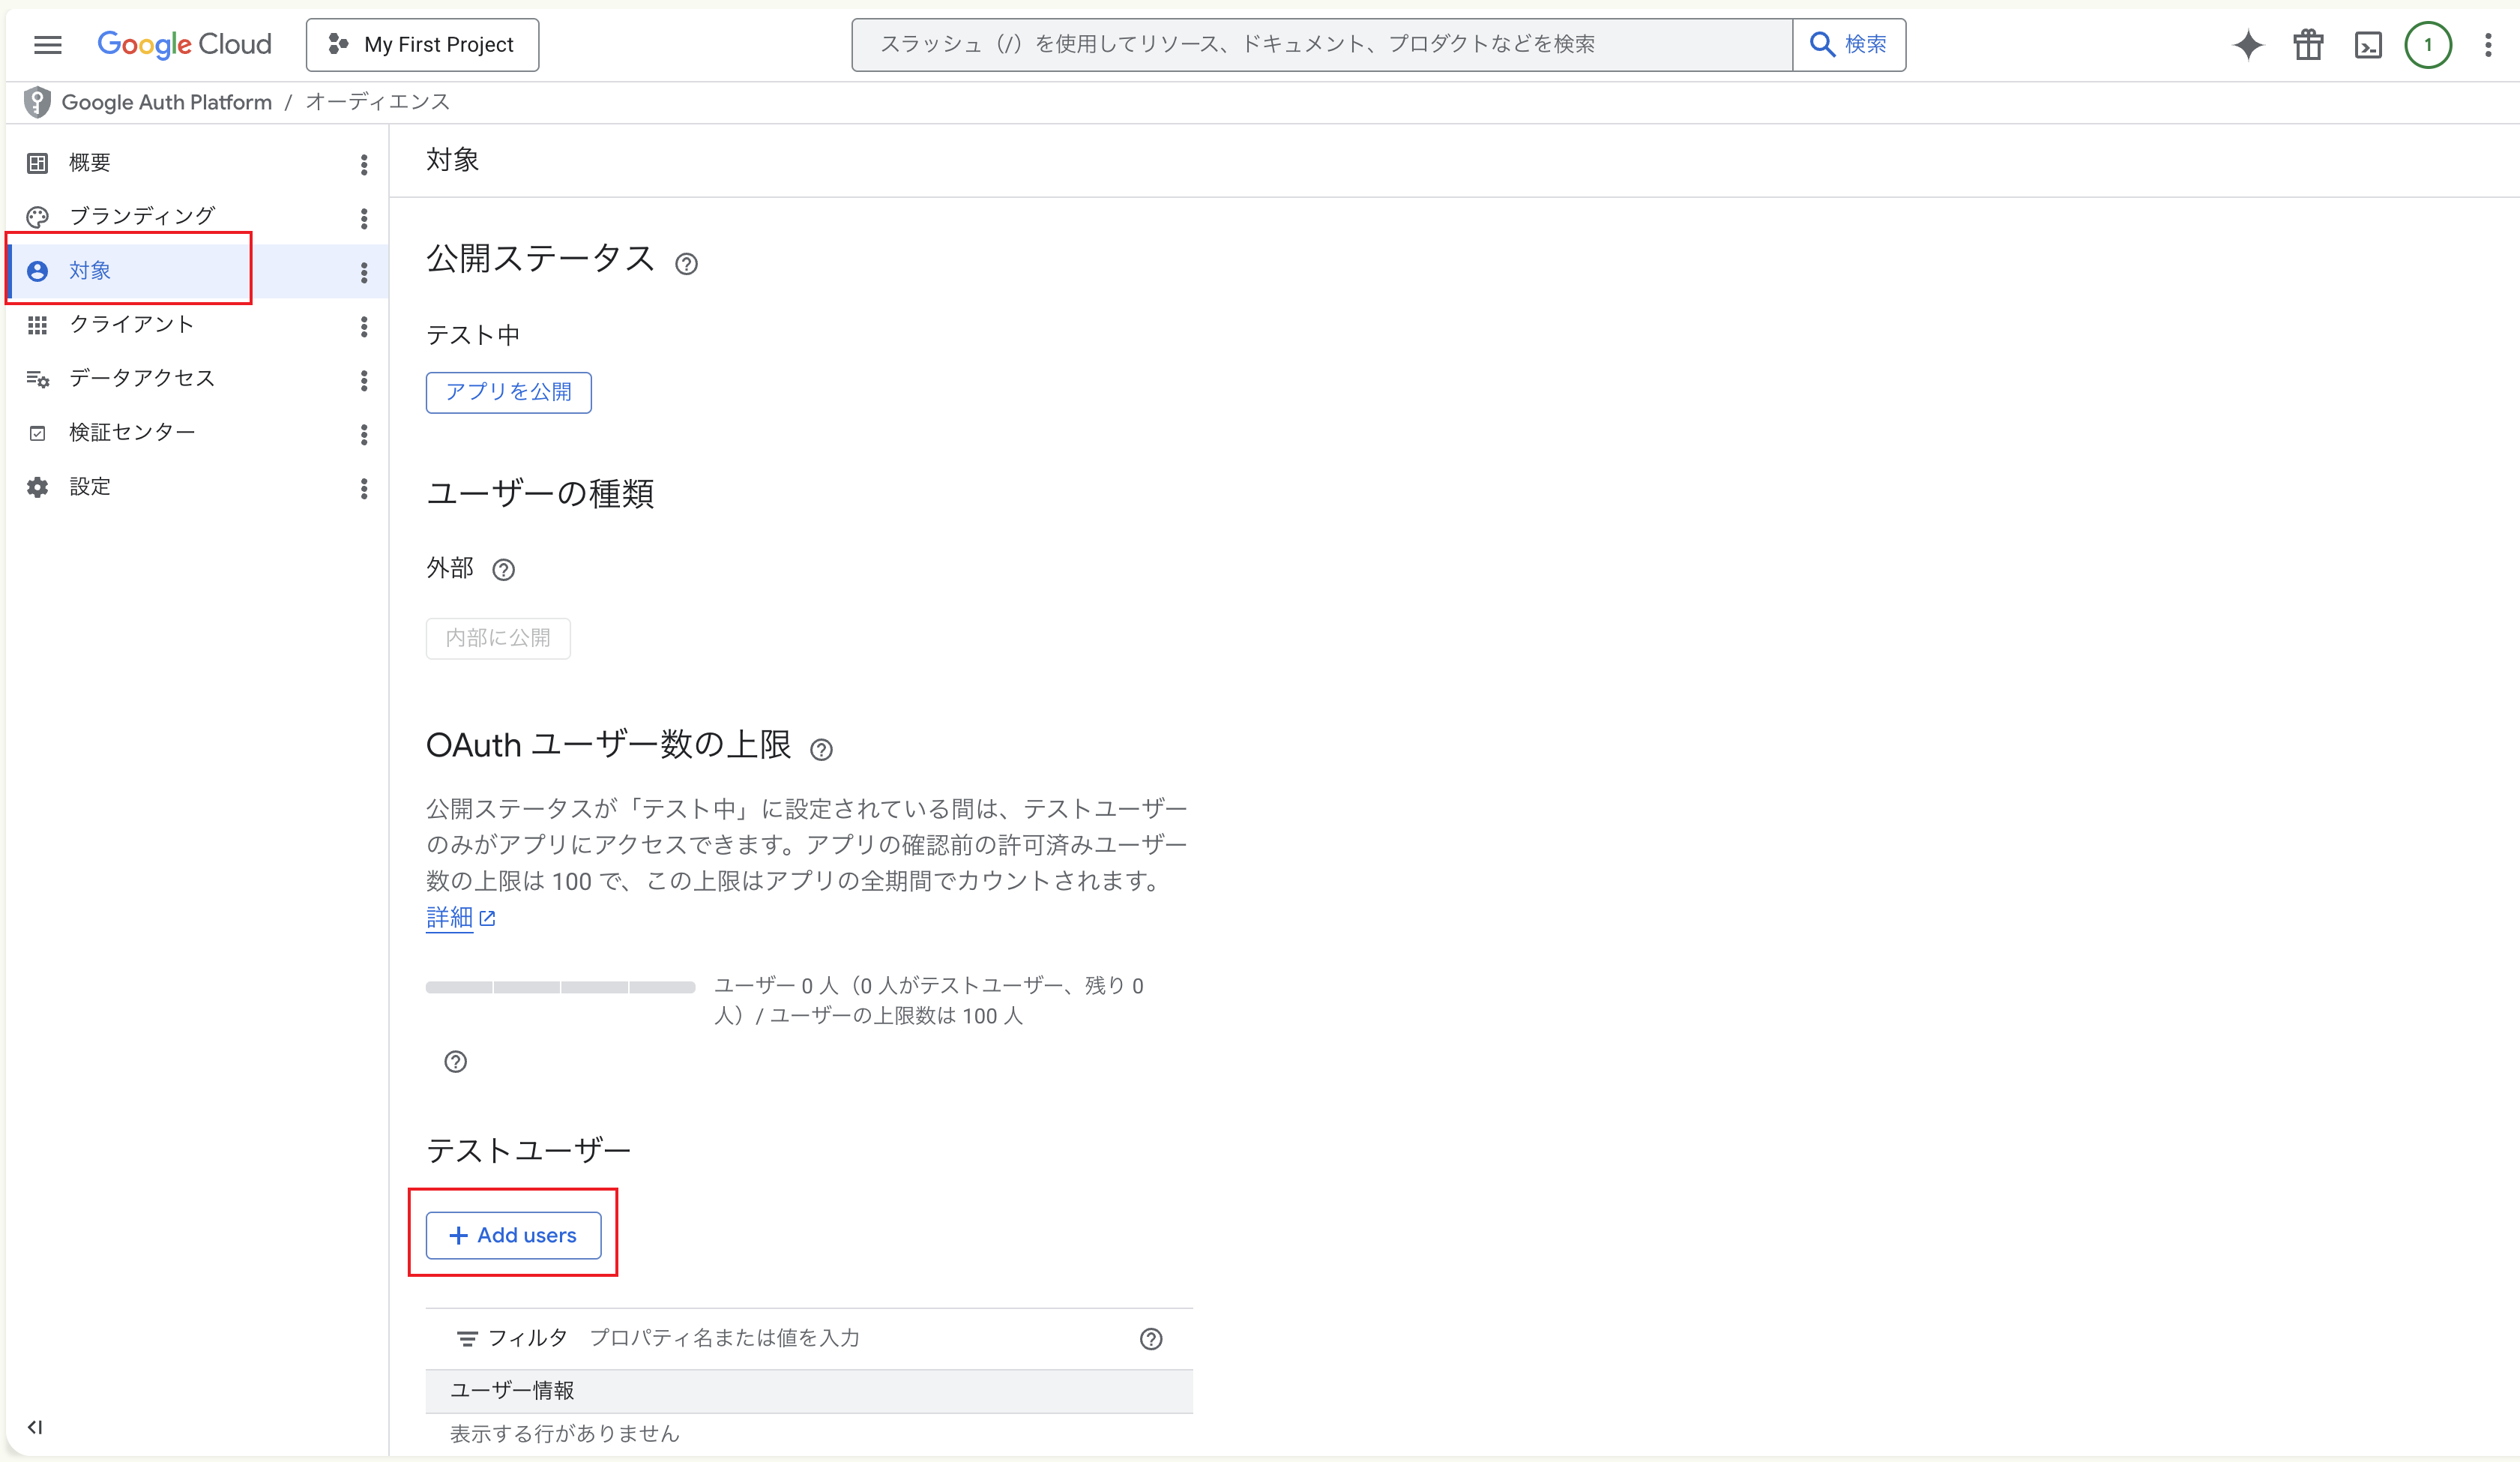
- Publishing status:
-
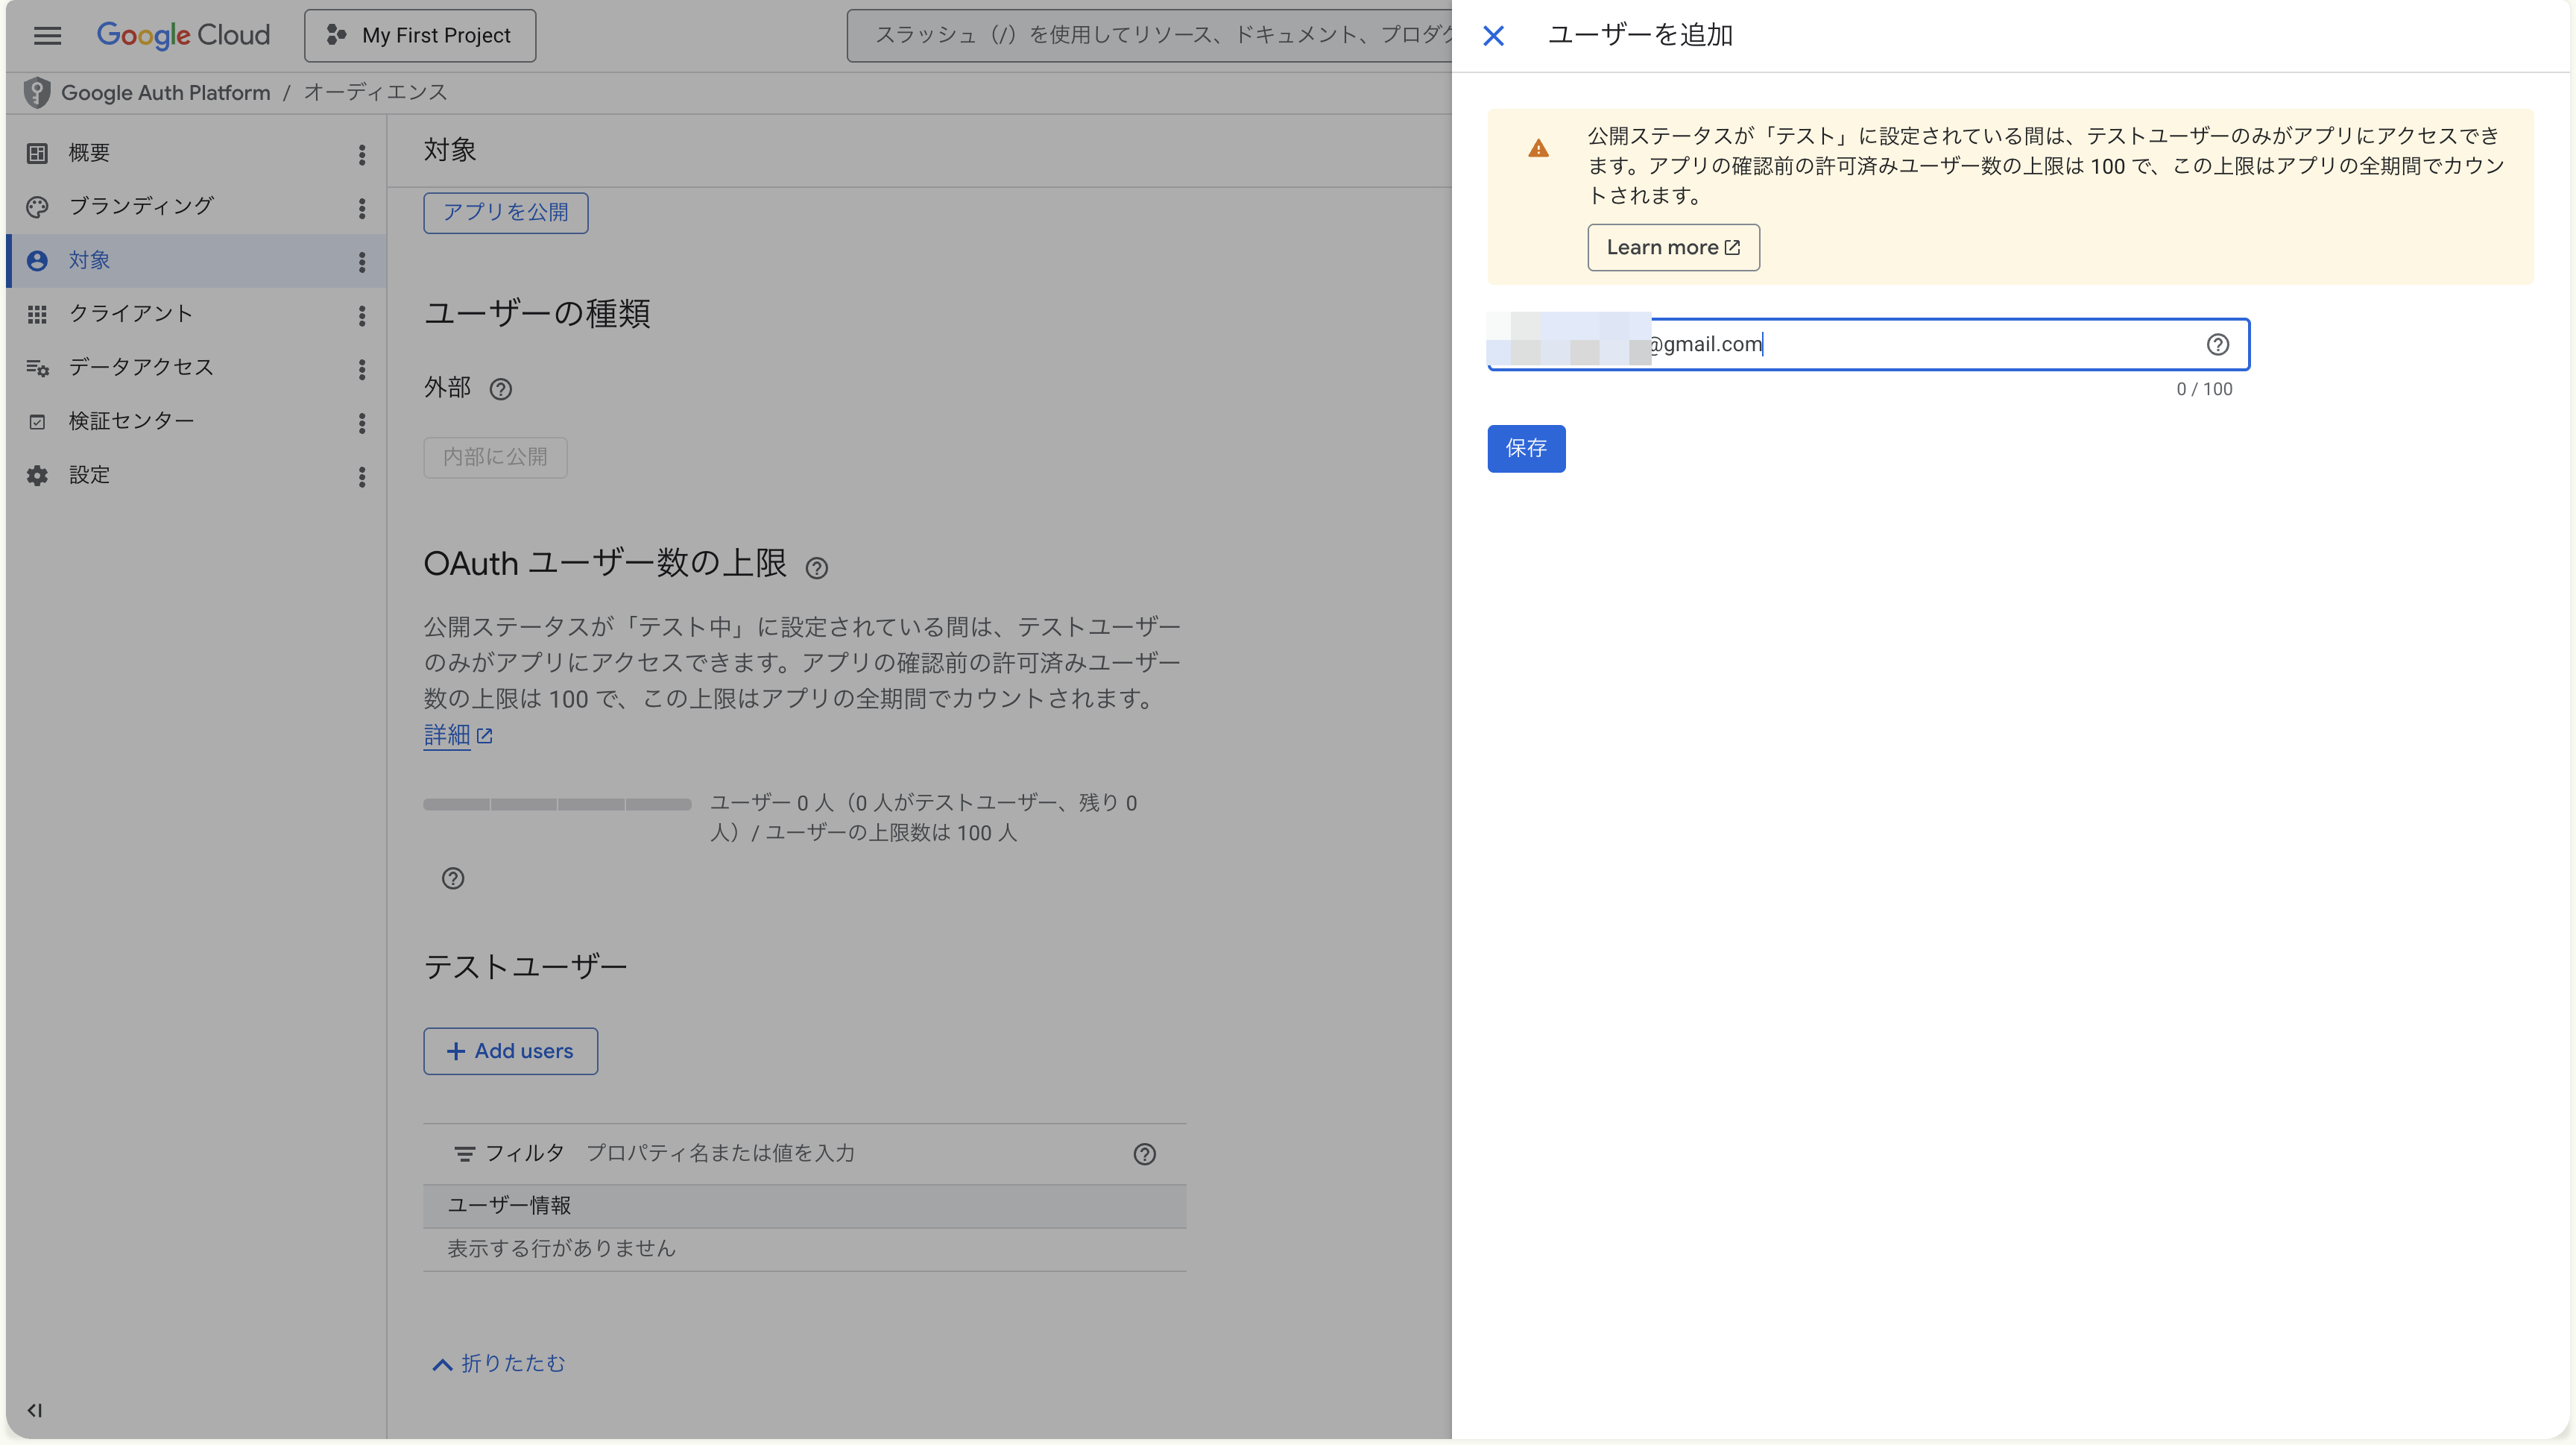
Click ”+ Add users”, enter the email, click “Save”
Clicking + Add users opens an Add users panel sliding in from the right.
- A yellow notice explains “While publishing status is set to Testing, only test users can access the app”
- A field accepts up to 100 emails, one per line
- Enter the Google account you want to connect → Save
-
Confirm it’s in the list
After save, the panel closes. The test users table should show one row with the email you entered. The “OAuth user cap” updates to something like
1 user (1 test user, 99 remaining).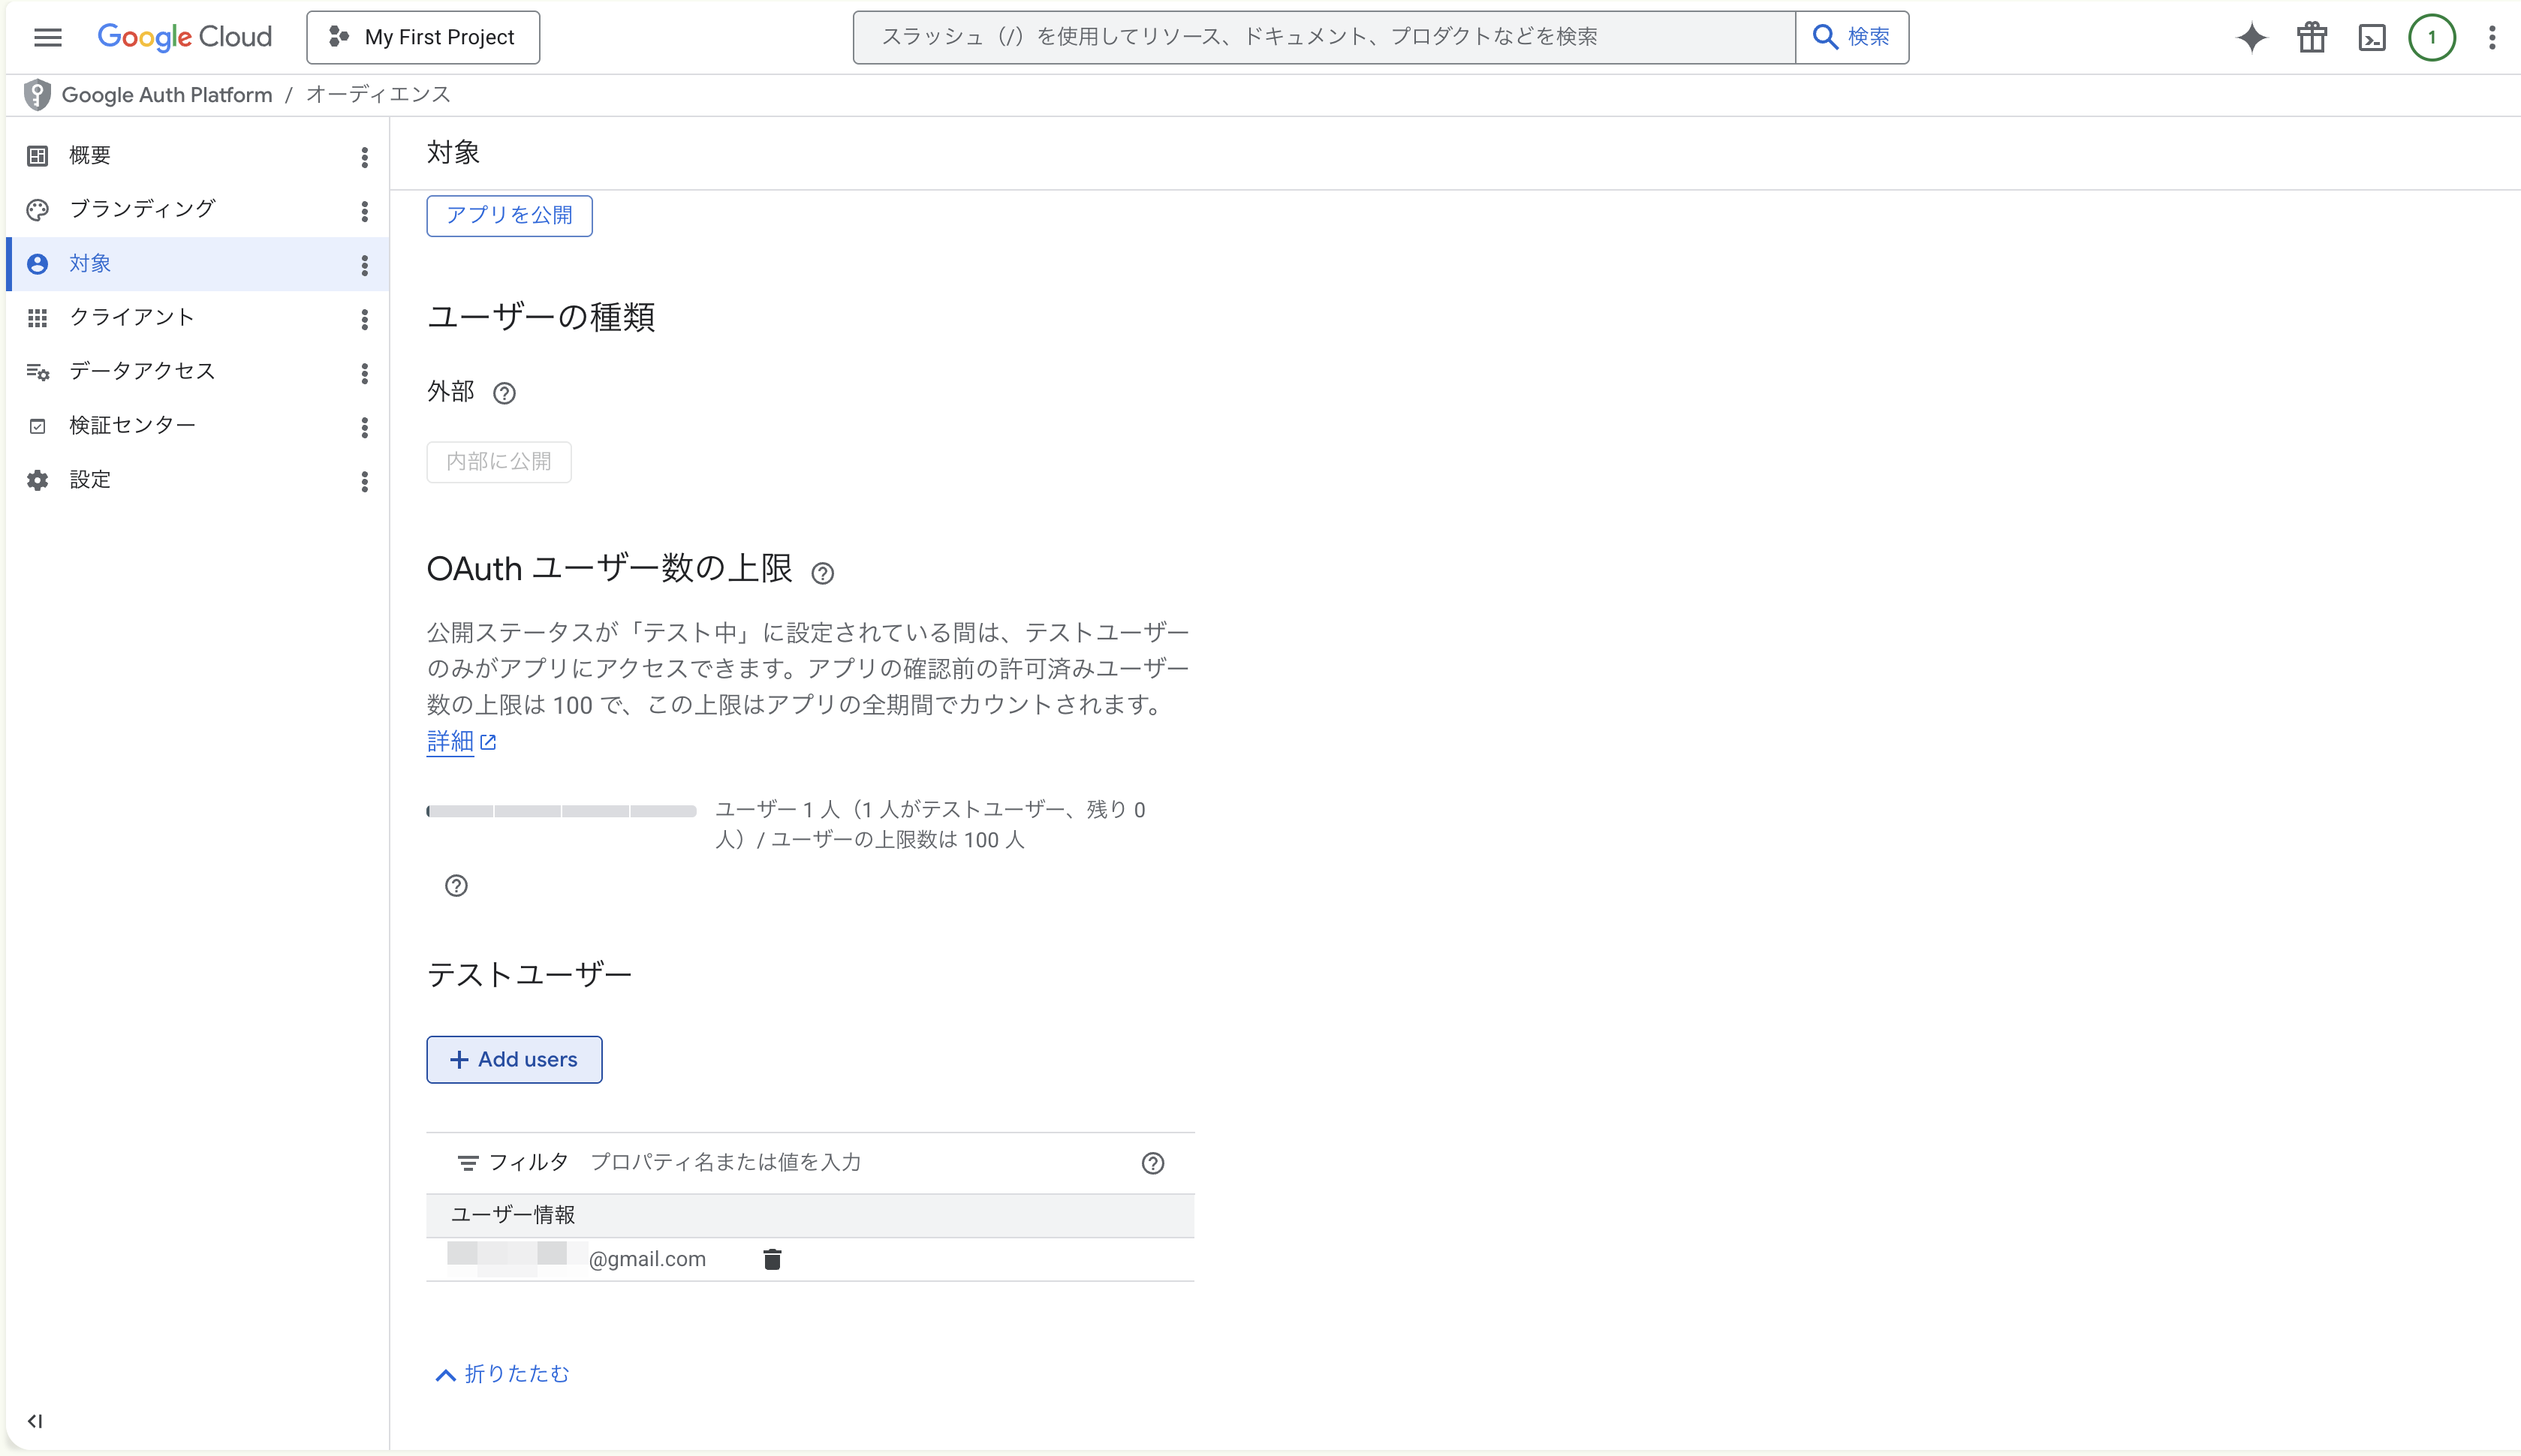
Add more accounts later by repeating ”+ Add users” (up to 100 total). Remove by clicking the trash icon at the end of any row.
Is “Testing” status fine forever?
Section titled “Is “Testing” status fine forever?”Yes.
- Testing publishing status lets test-user accounts use the app without limits or expiry
- You only need to switch to Production / Publishing (and submit for Google verification) if you want other people to use the app
- For personal use across 1 or a few accounts, Testing is exactly right
Consent screen ready. Time to issue the credentials Kura-chan actually uses — Step 4 · Create an OAuth client ID.