Step 6 · Connect and choose scope
Last step. Now that credentials are saved, you pick which tools (Gmail / Calendar / Drive) to enable and run the OAuth flow. About 2 minutes.
-
Pick the tools you want
The Google card’s Tools section has three rows — Gmail / Calendar / Drive. Each has a toggle: Off or Read-only.
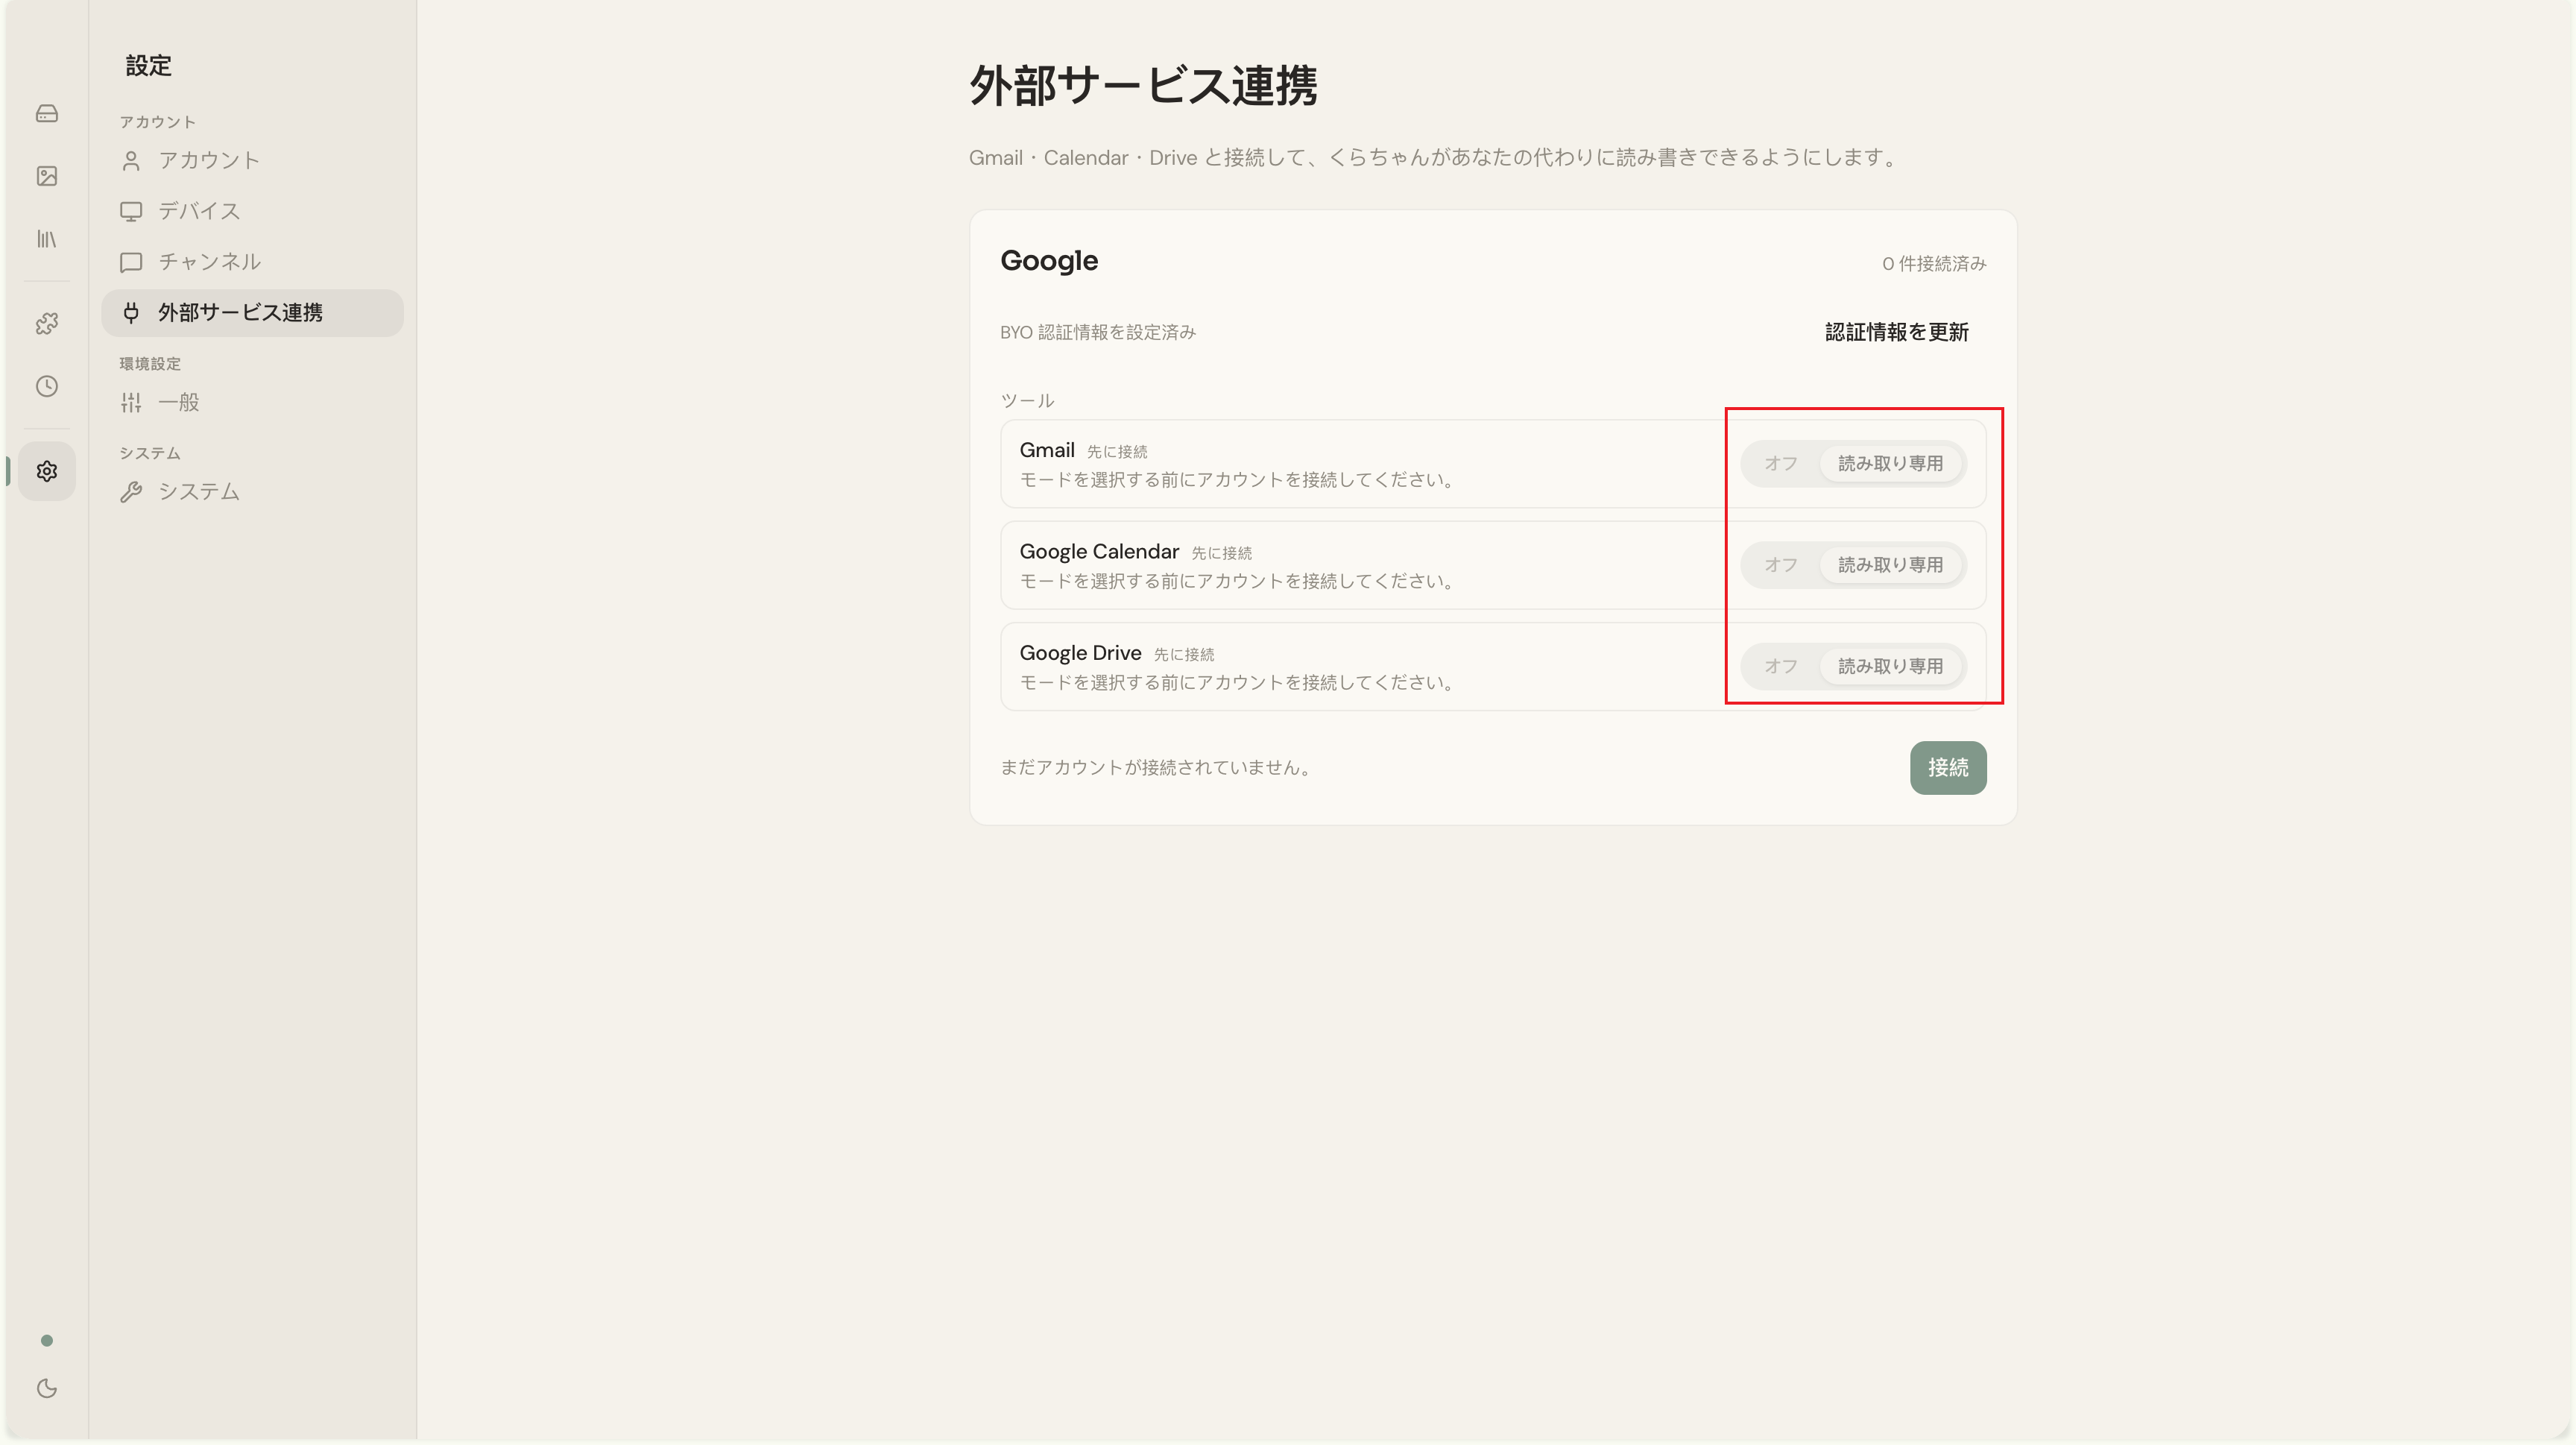
- Off: this tool isn’t connected. No OAuth scope requested.
- Read-only: read access only. Requests
gmail.readonly/calendar.readonly/drive.readonlyas needed.
You don’t have to enable all three. Just turn on what you want now. You can change this later by toggling and re-running Connect.
-
Click “Connect”
Bottom-right of the card.
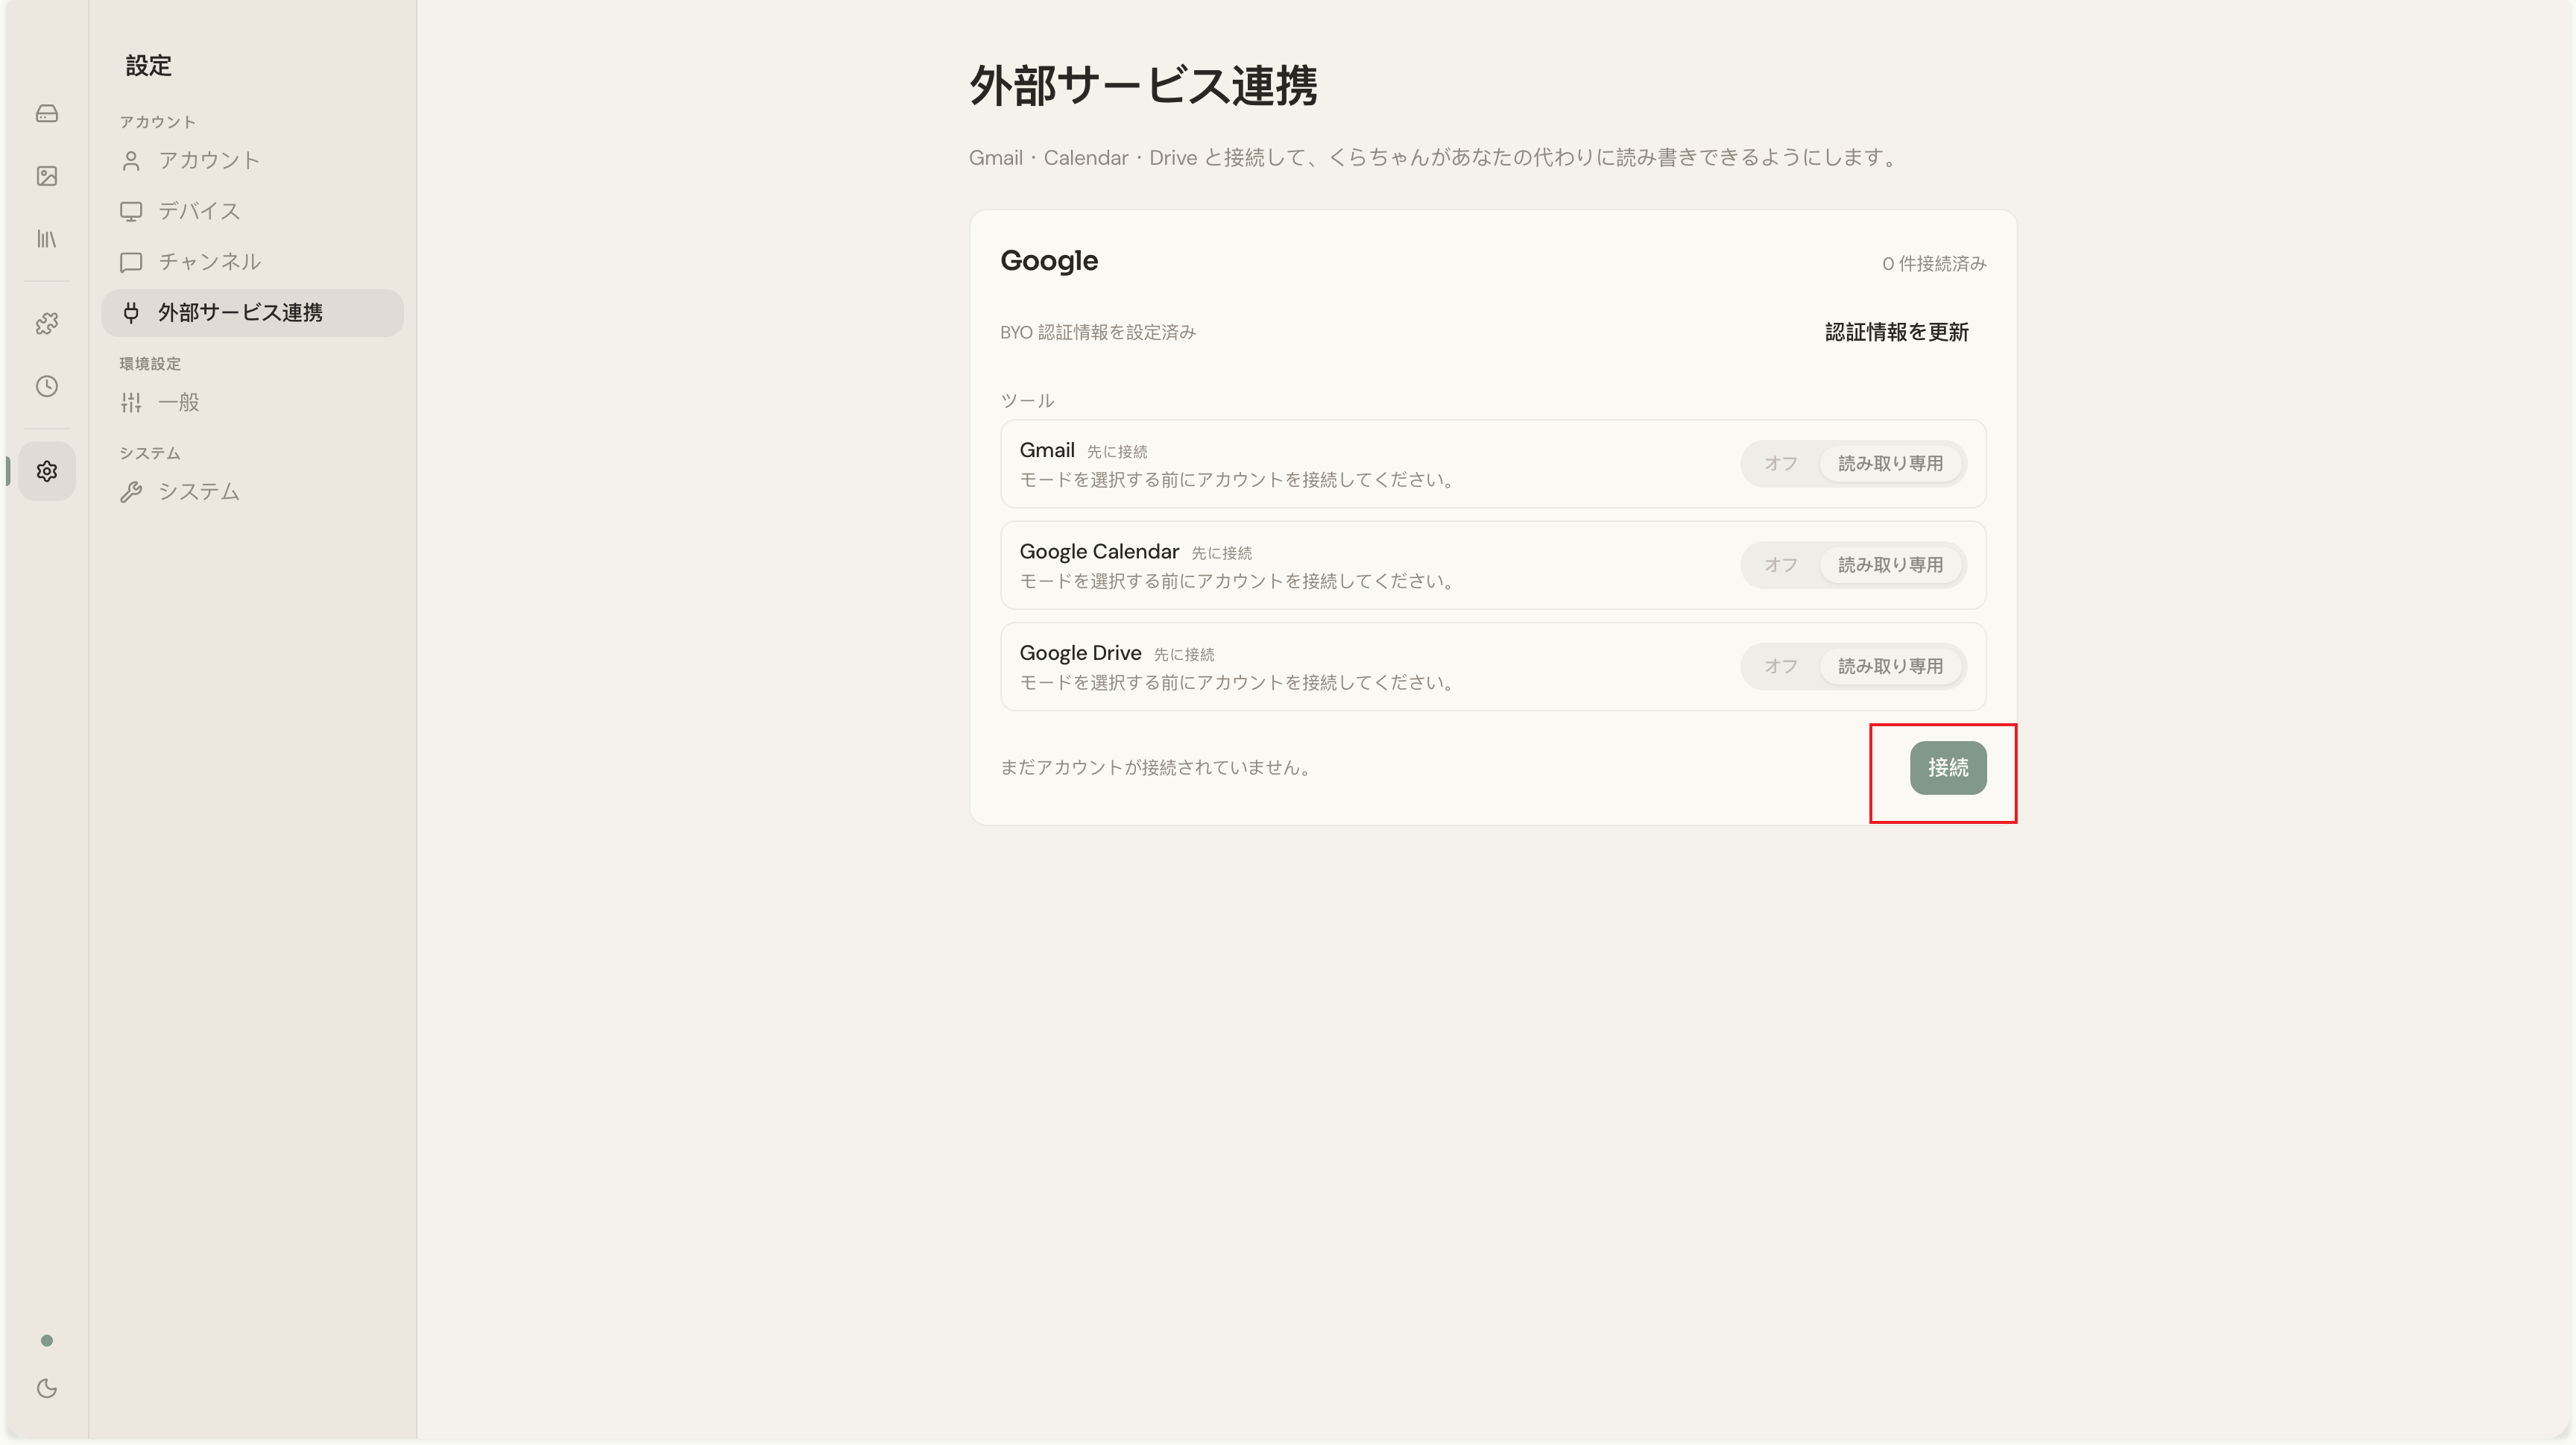
The button moves through “Starting…” → “Waiting for consent…”, and a new browser tab opens.
-
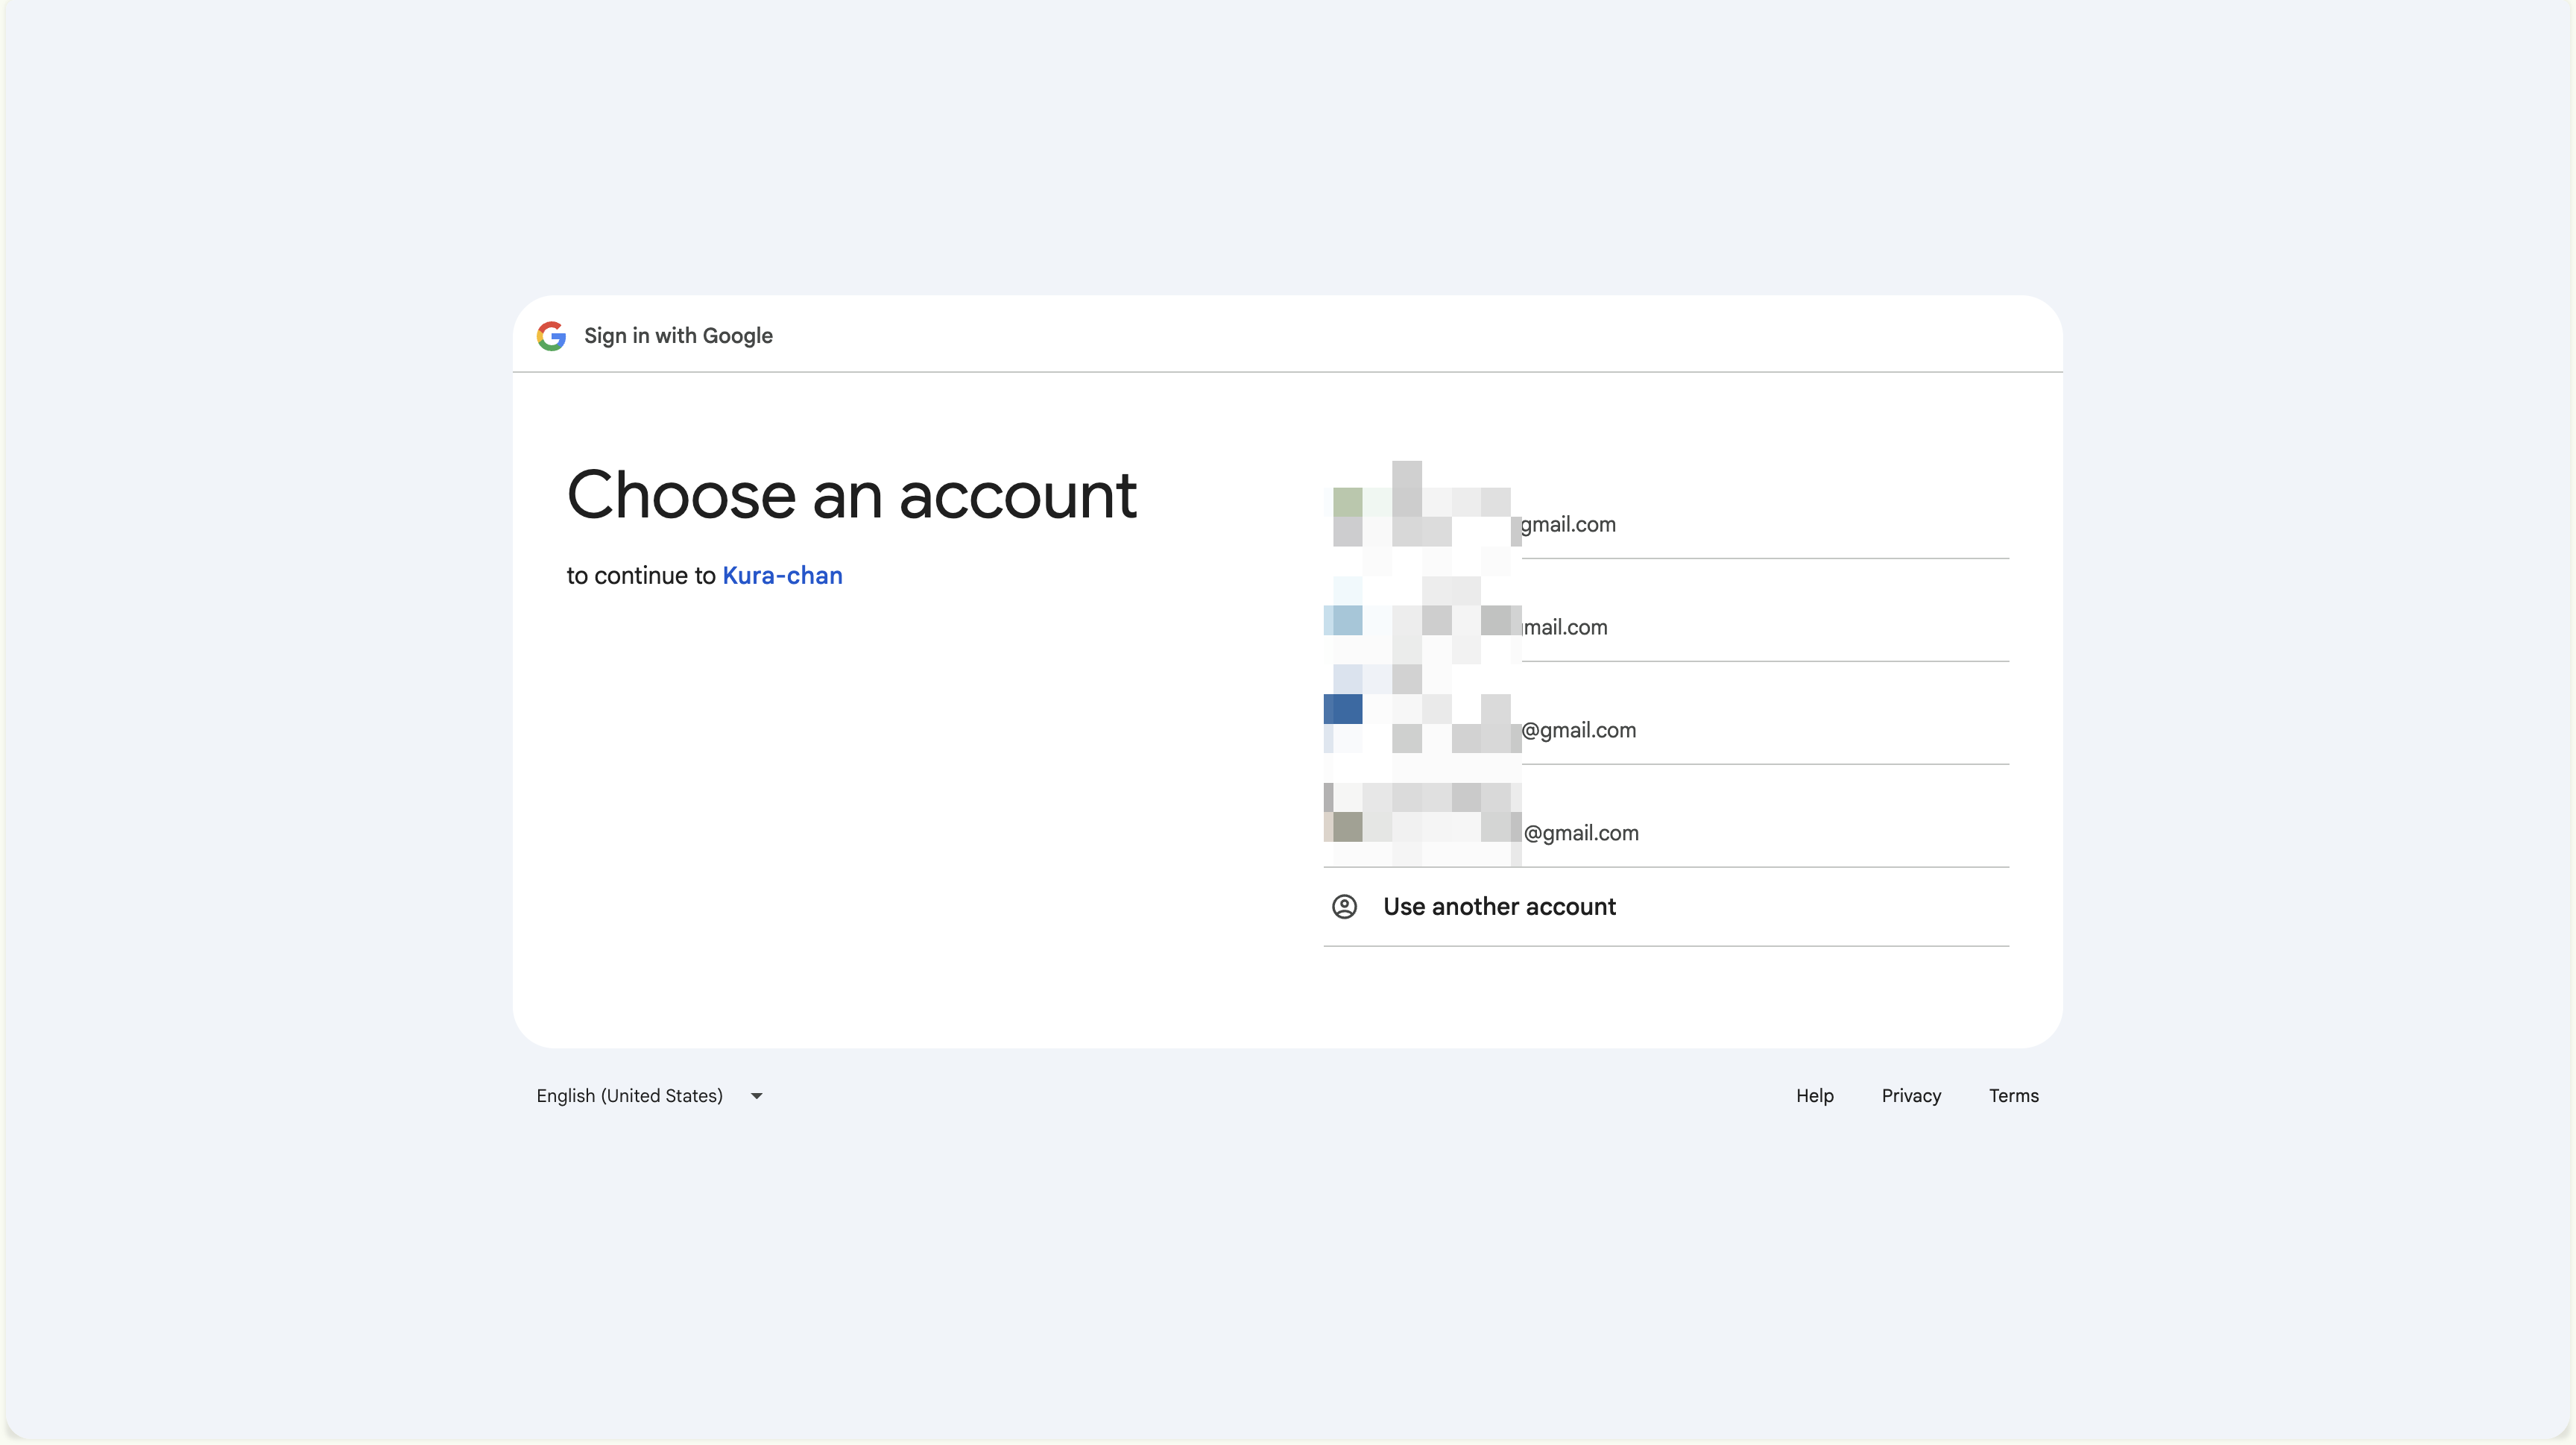
Sign in to Google
The new tab opens Google’s sign-in page. Use the same Google account you added as a test user in Step 3.
-
Pass the “Google hasn’t verified this app” warning
Your OAuth app is in Testing mode, so Google shows a “Google hasn’t verified this app” warning. This is normal — you created the app, and you haven’t submitted it for Google’s verification process (which only matters for public apps).
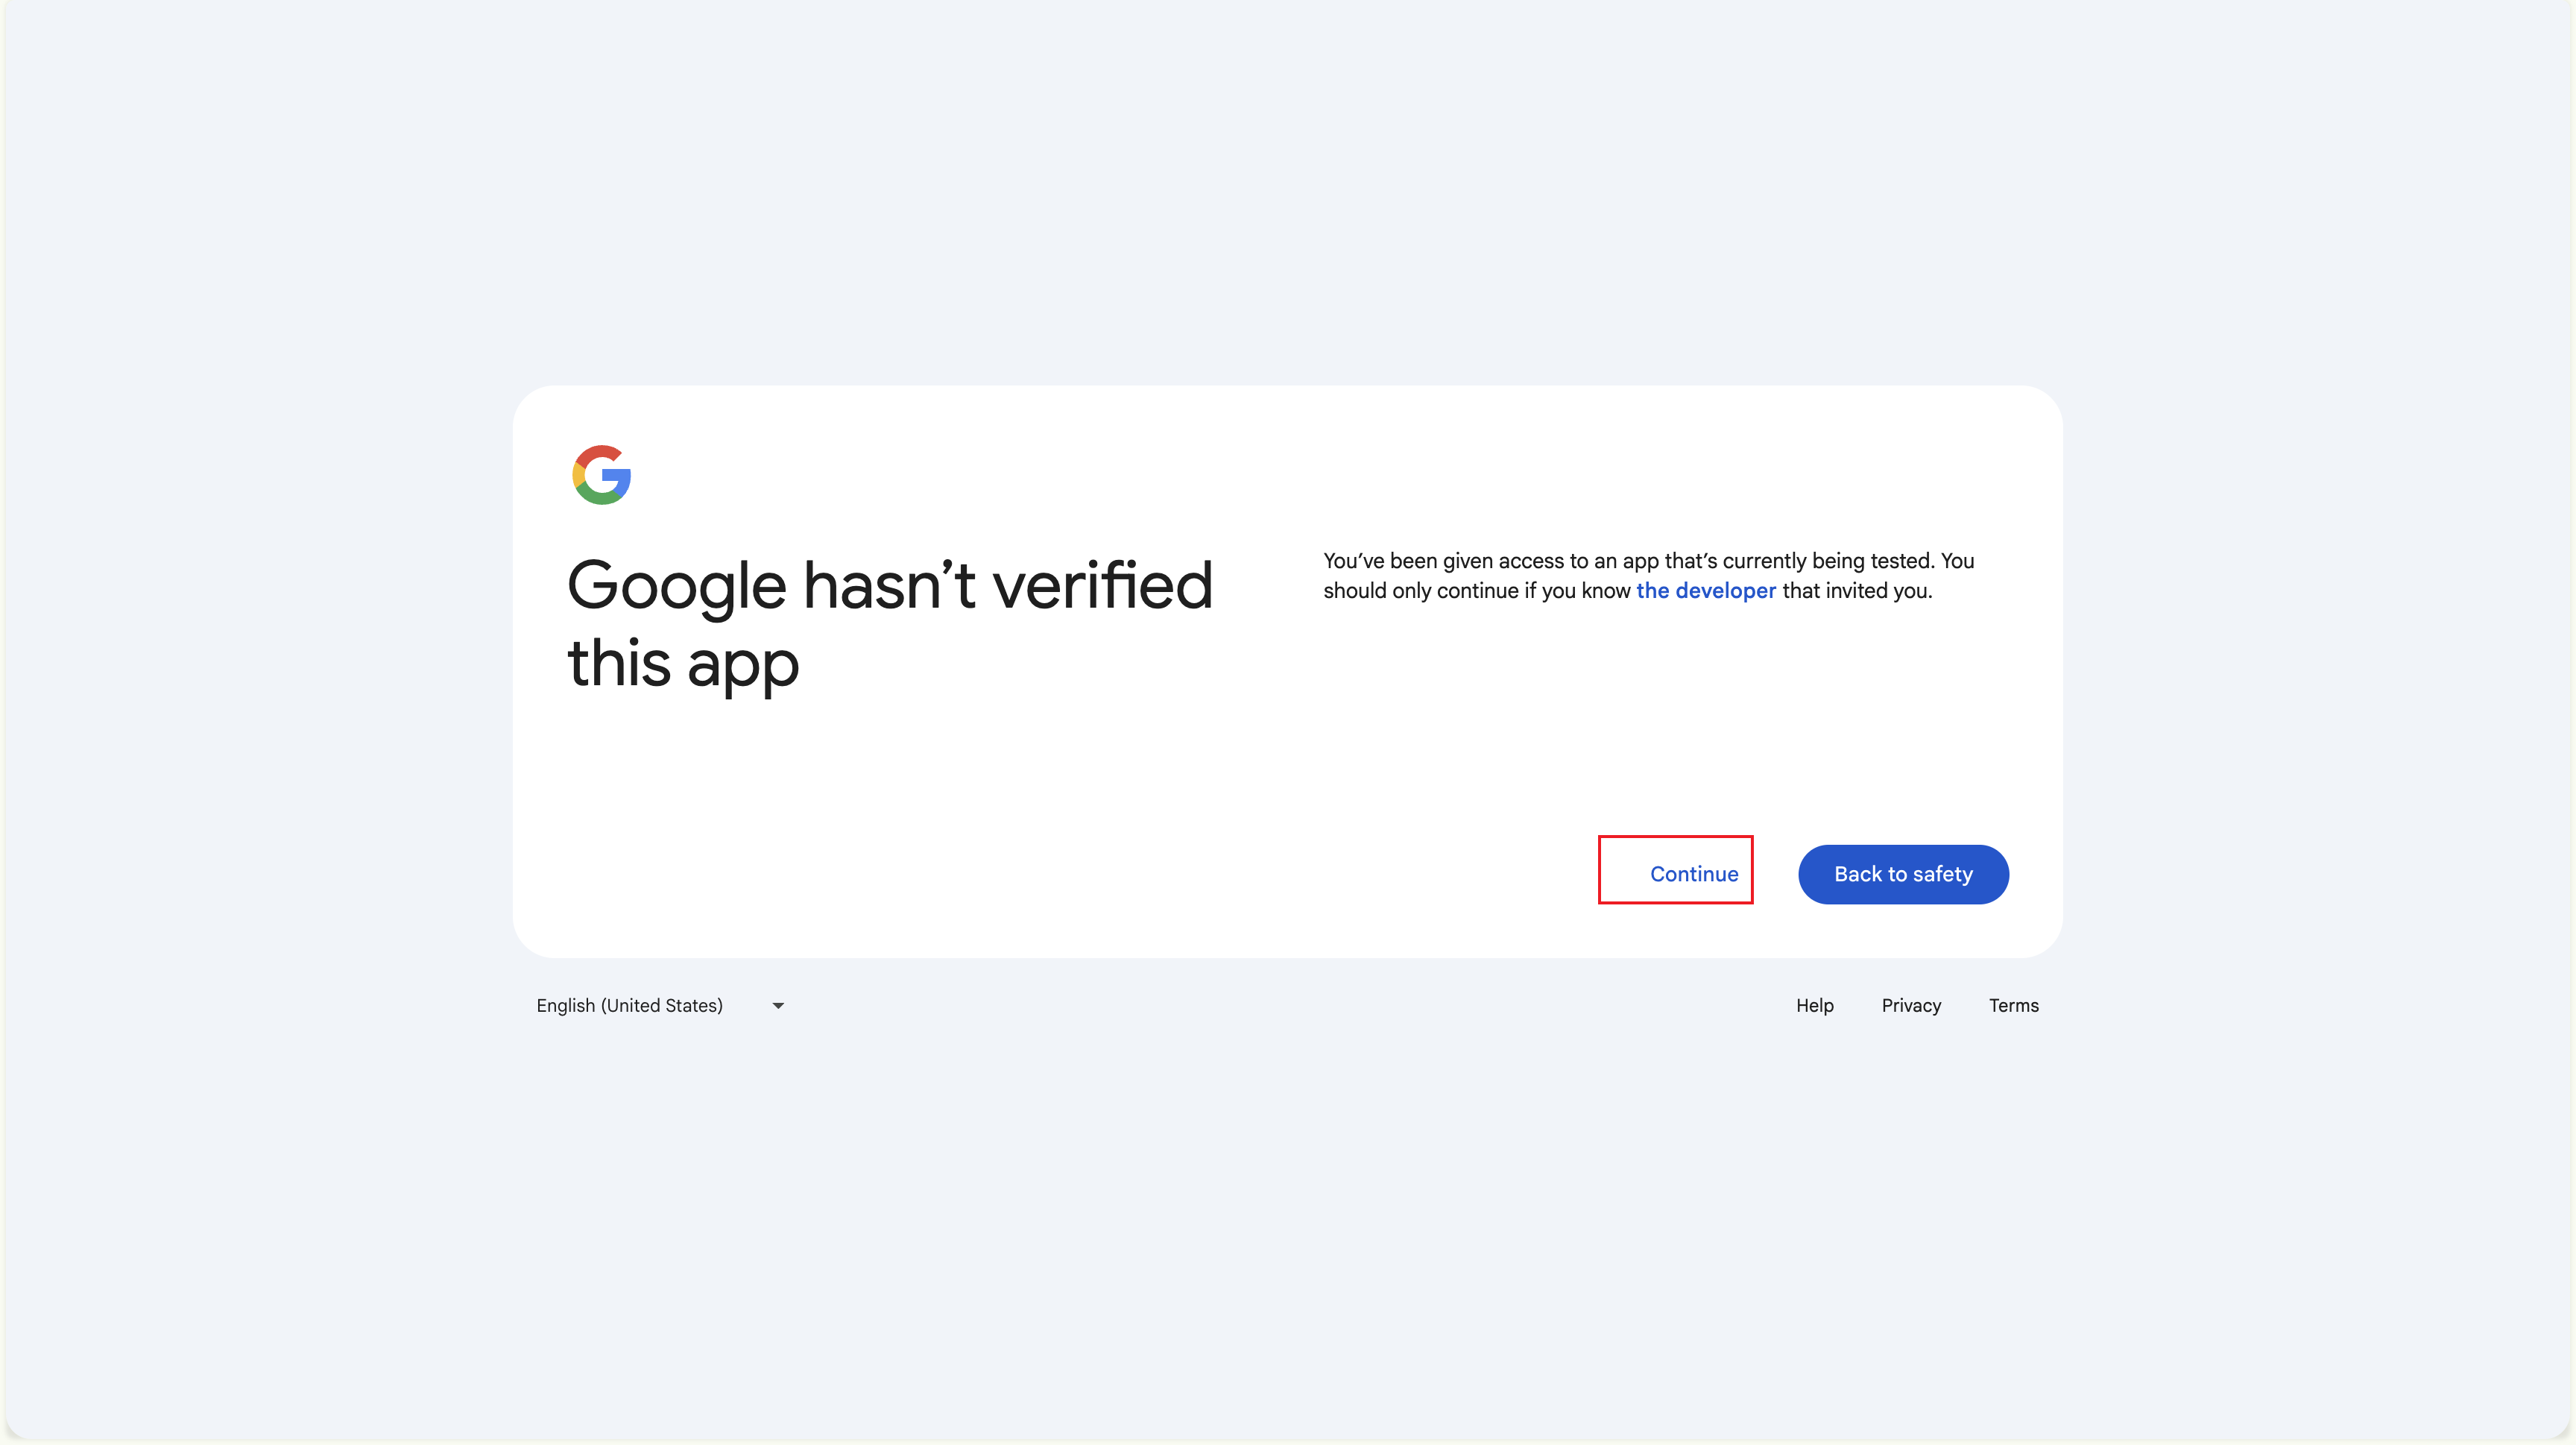
The bottom-right of the page has “Continue” (a blue text link) and “Back to safety” (a big blue button). Click Continue to proceed.
-
Review the requested scopes → Allow
Google now shows the consent prompt: “Kura-chan wants to access your Google Account”, with the scopes broken out:
- Gmail (Read): “See your email”
- Calendar (Read): “See your calendars”
- Drive (Read): “See your Google Drive files”
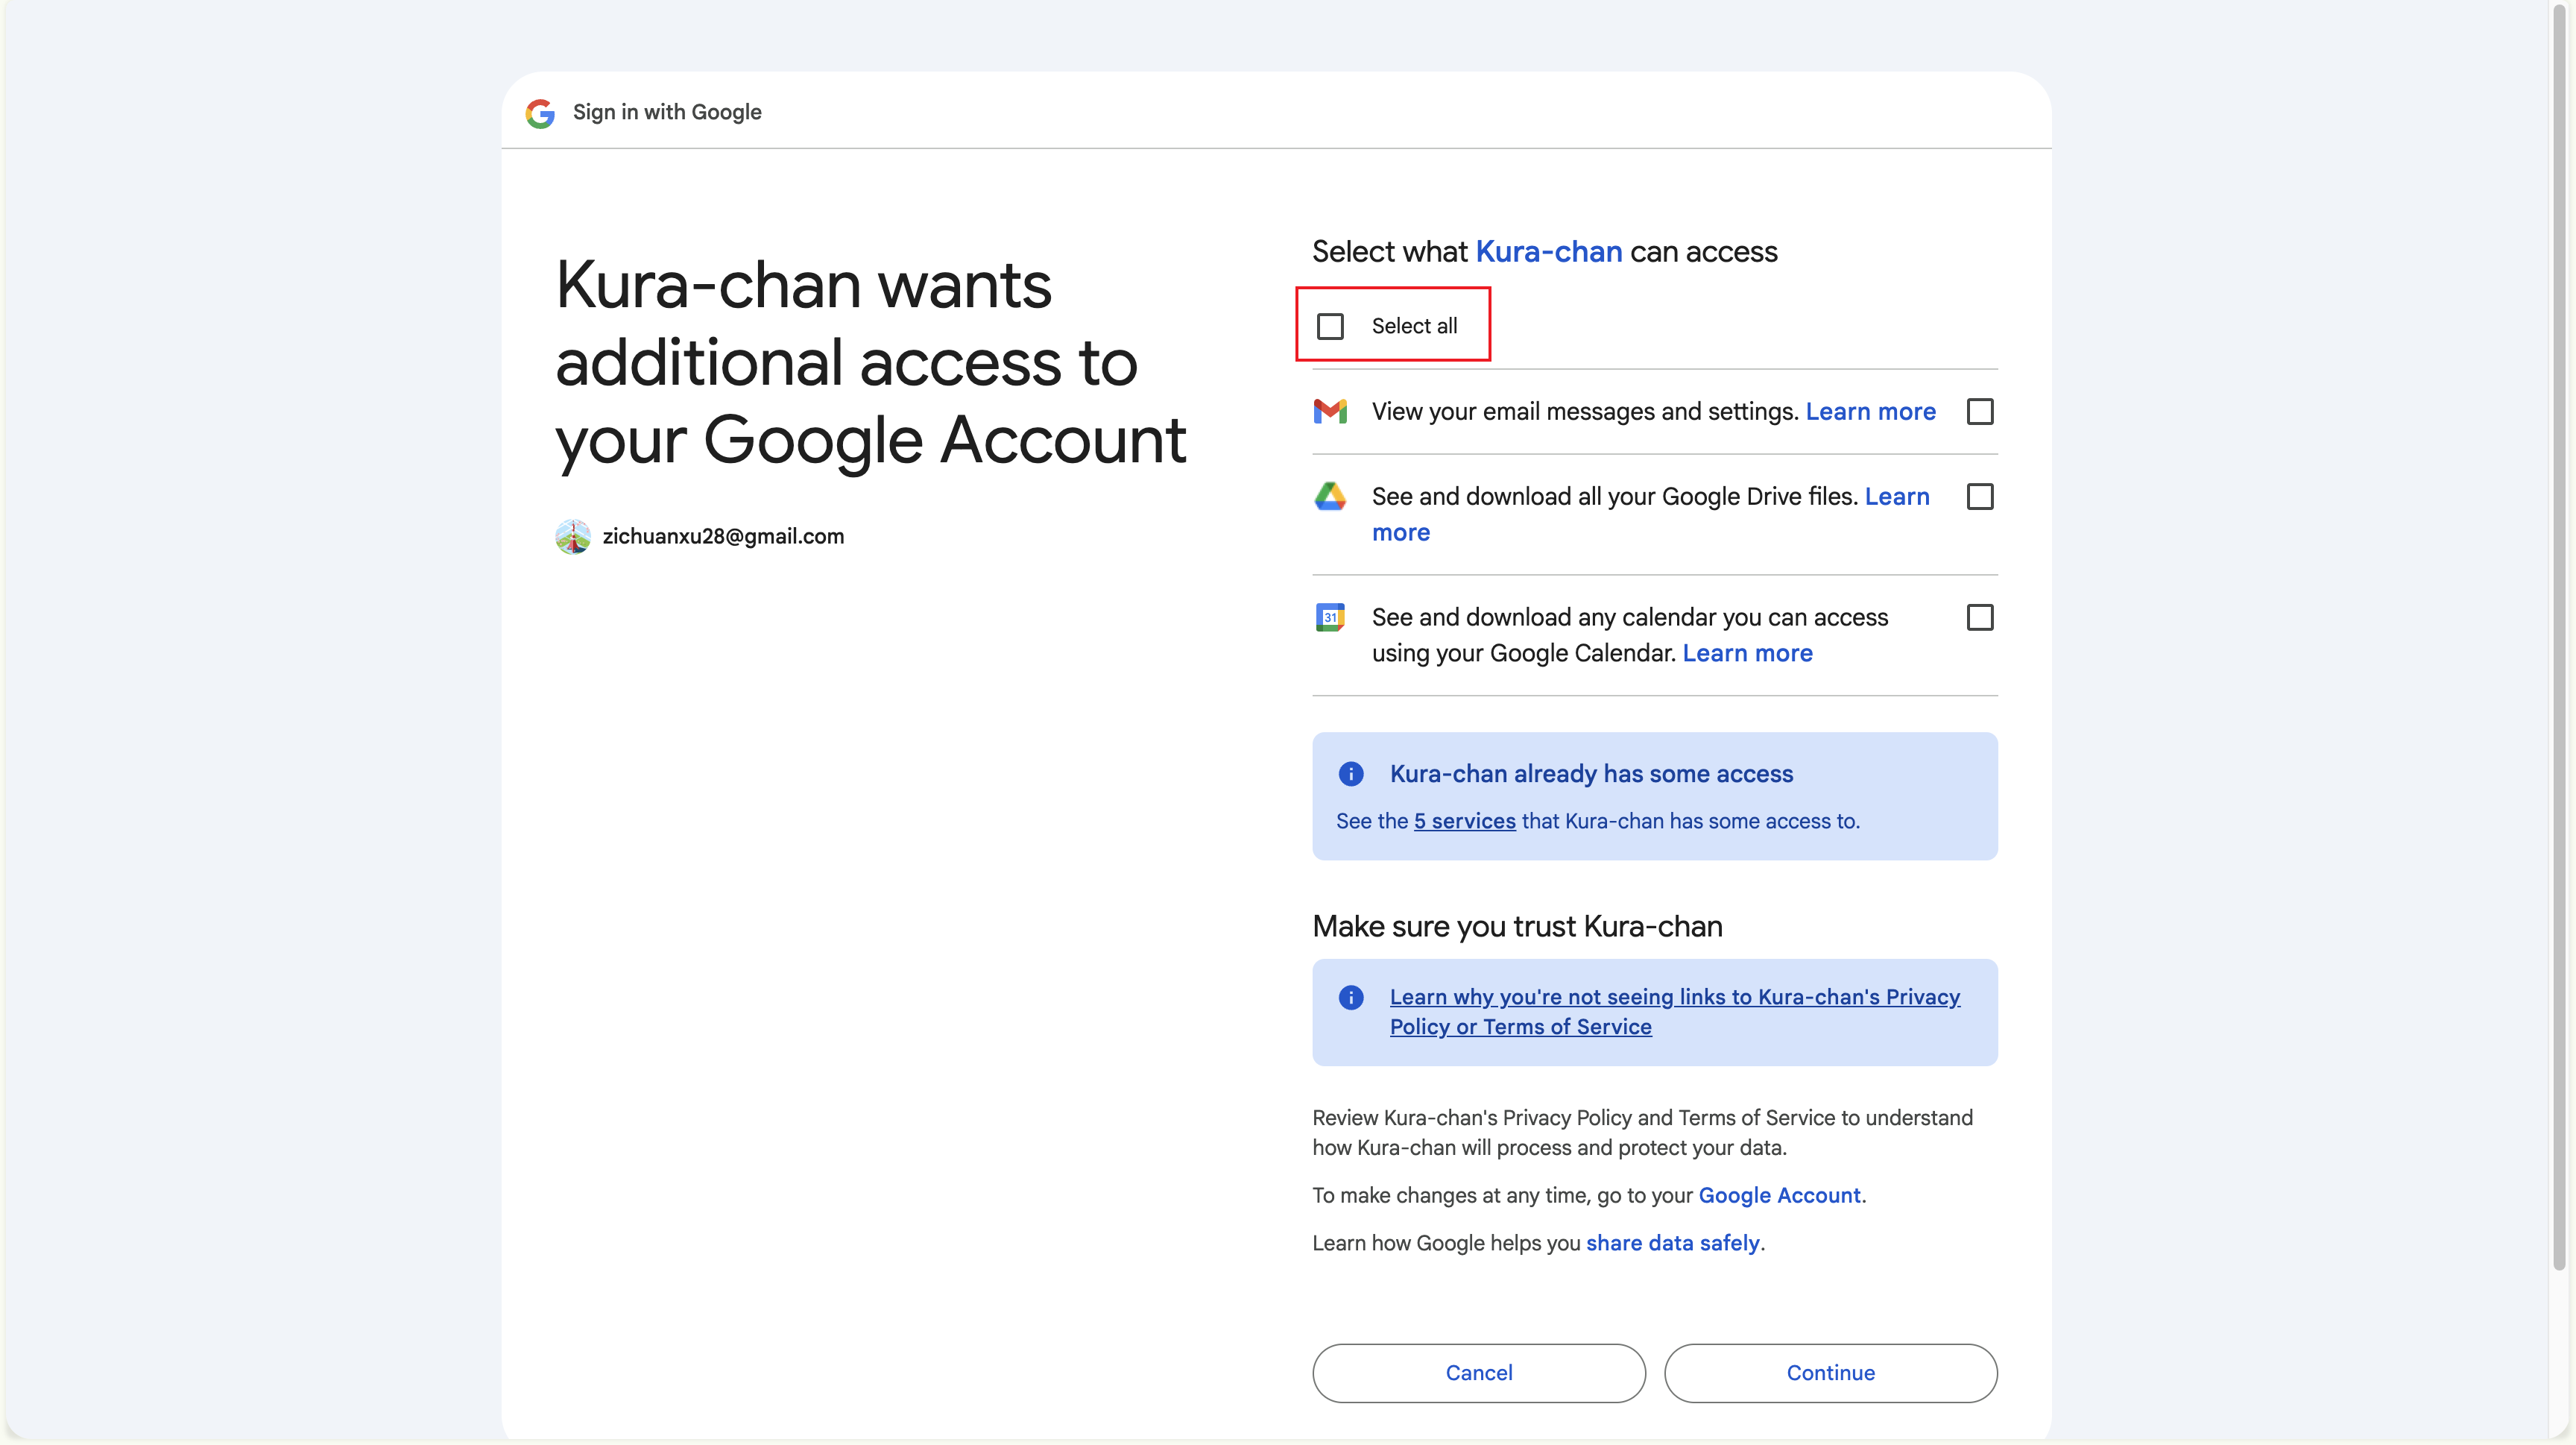
- Verify the scopes match what you set to Read-only in Step 1
- Scroll down and click Continue to grant
-
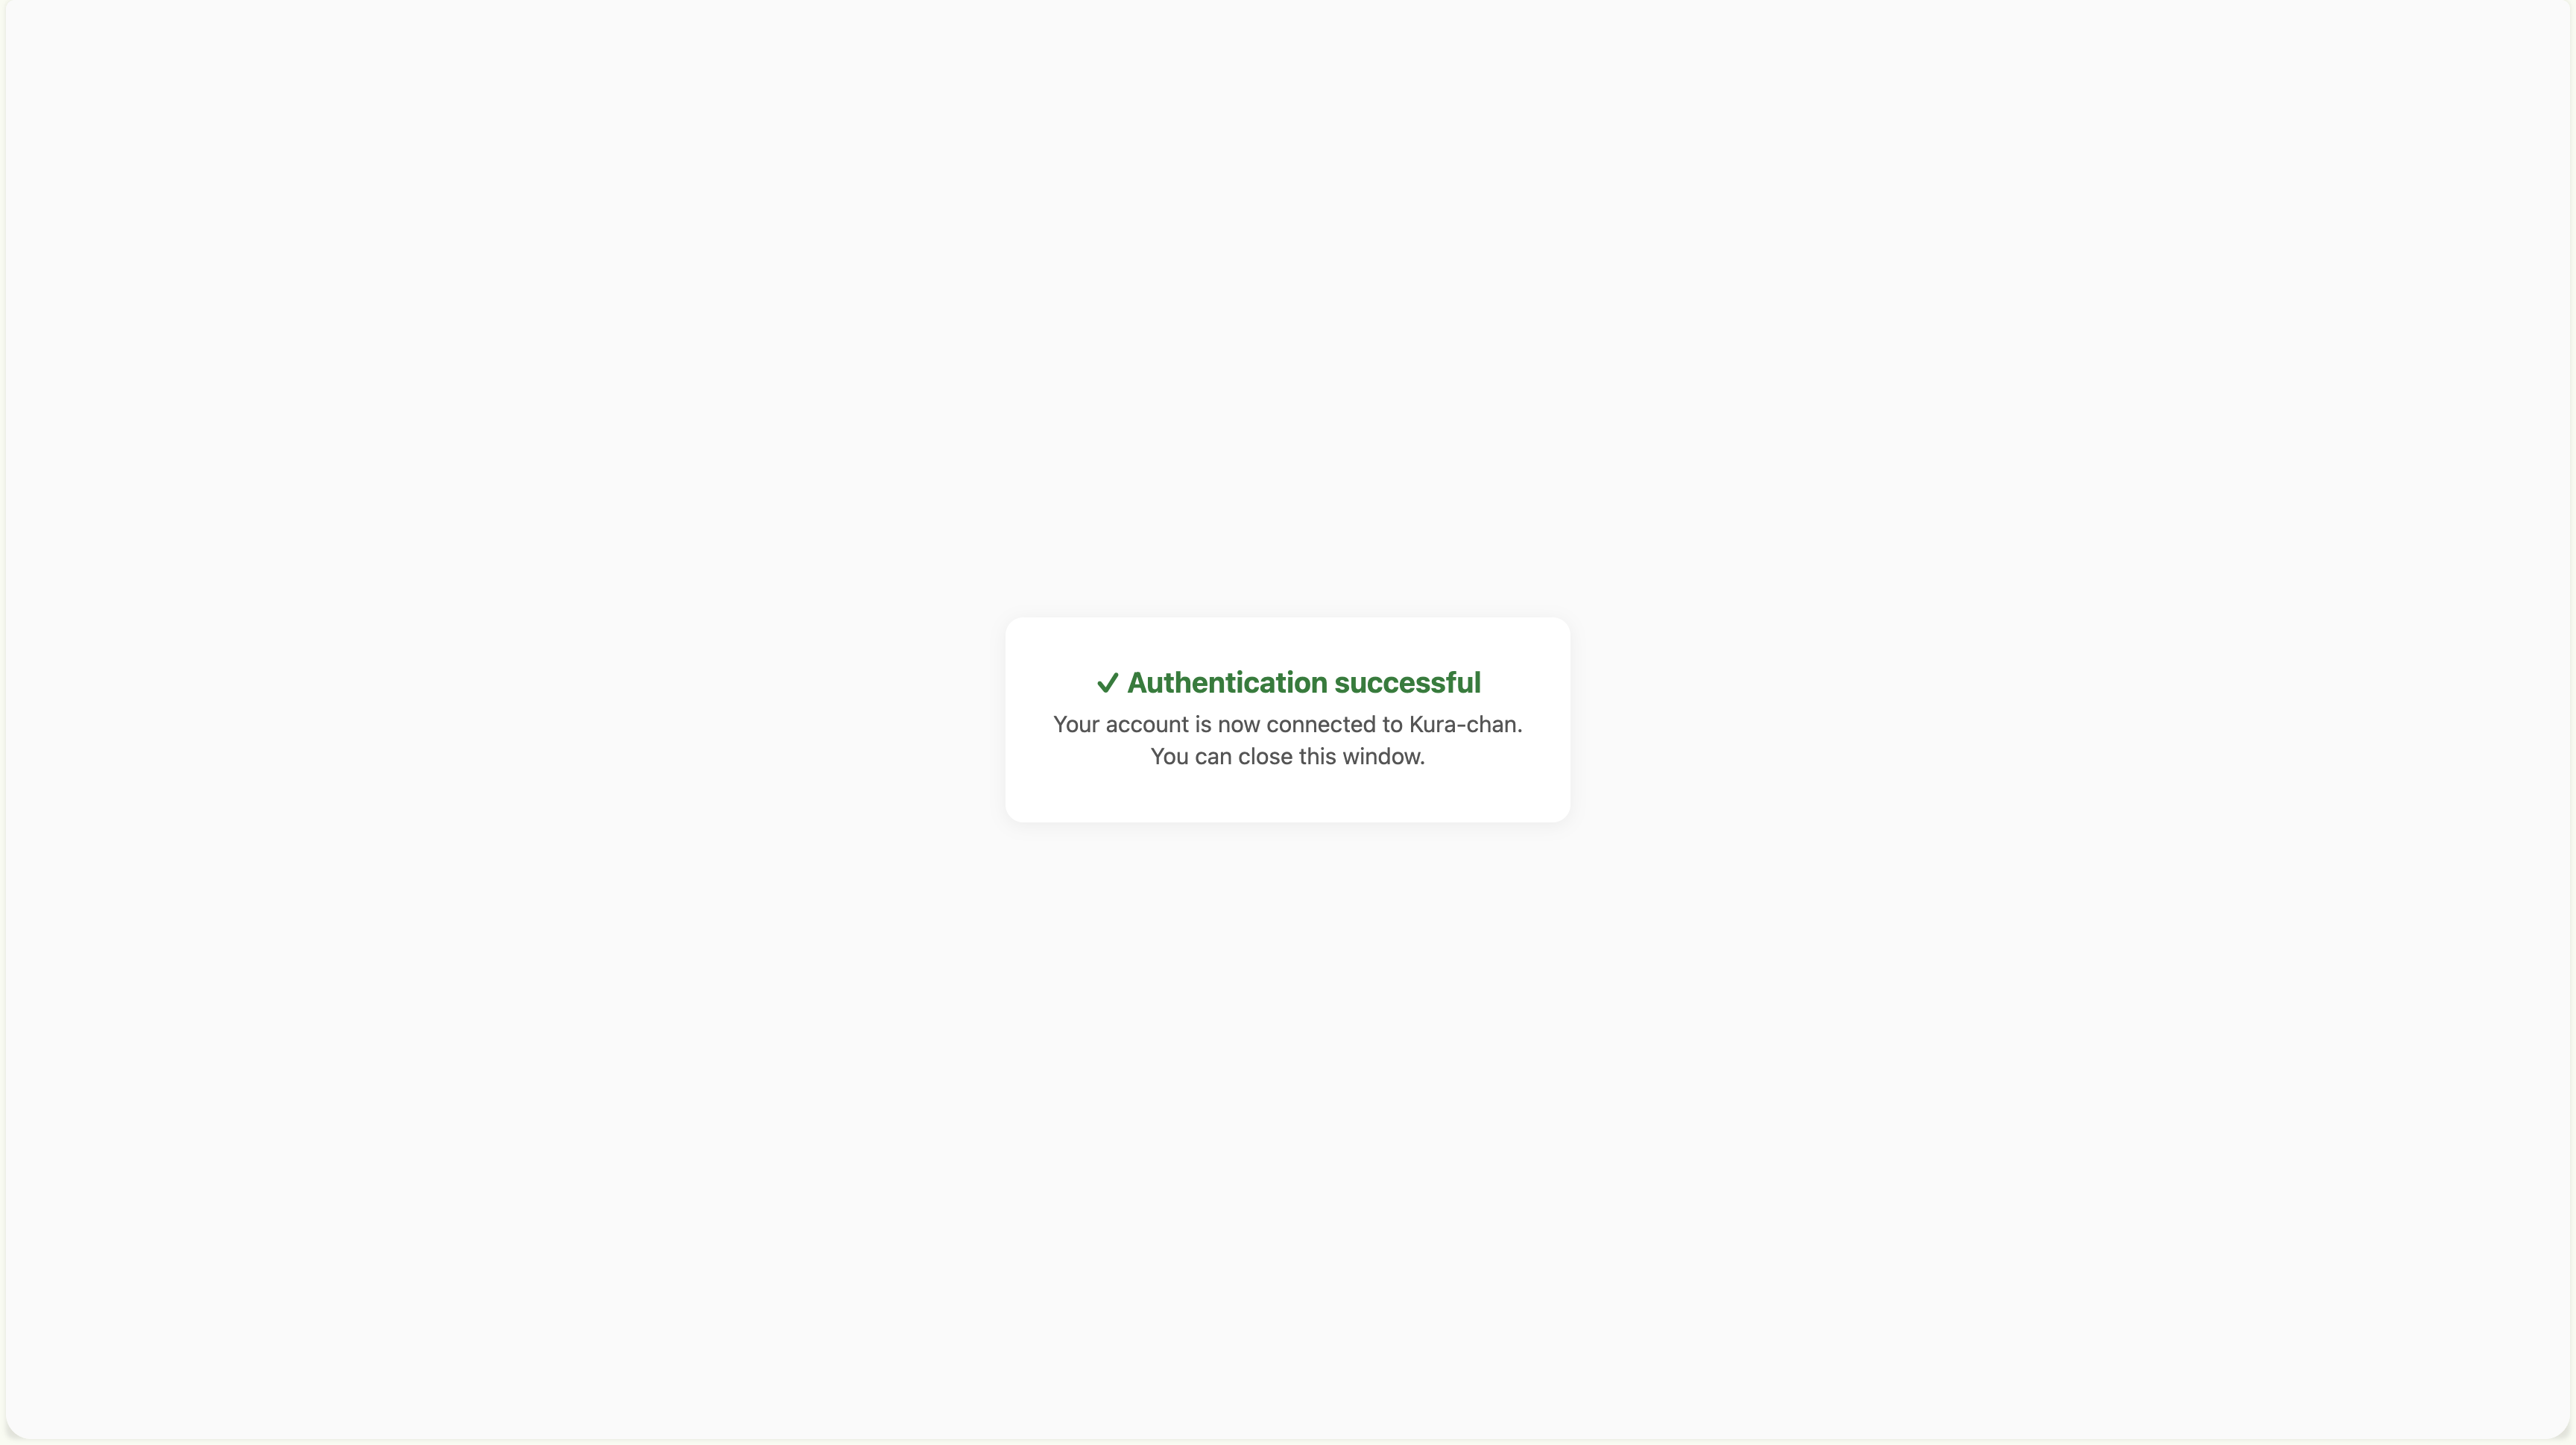
Confirm the success page and close the tab
You’ll see a small success page — something like “You can now close this tab.”
-
Return to the dashboard tab
Back in the dashboard tab, the Google card now shows your connected account instead of a Connect prompt.
Adding more scopes to the same account
Section titled “Adding more scopes to the same account”Want to add Calendar later, even though you only enabled Gmail before?
- In the Tools section, flip the new tool to Read-only
- Click Connect again
- Google asks you to consent to the additional scope. Click Continue
You’ll still have just one connection row, but with a higher scope count.
Connecting multiple accounts
Section titled “Connecting multiple accounts”Want to connect both a work and a personal Google account to the same realm?
- With the first account already connected, click Connect again
- Sign in with a different account on the Google page
- After completion, you’ll see two Connection rows
- Promote whichever one you prefer by clicking Set as default
Common gotchas
Section titled “Common gotchas”Connected? Confirm everything’s working in Verify the connection.